CSVT#49
Addicted CEG'er
Here is a brief explanation through the use of photos of the removal of my alternator. Would suggest referencing Ray's PDF file how-to as well, but I have included an additional way to access the upper bolt without removal of anything on the engine up top.
Tools:
15mm wrench (or 15mm deep well 6 point socket)
3/8” universal
3/8” 10mm 6 point socket
3/8” 13mm 6 point socket
3/8” ratchet
3/8” breaker bar
3/8” extentsions
1 – 8”
2 - 5”
Torque wrench capable of 25, 28, 45 and 128Nm
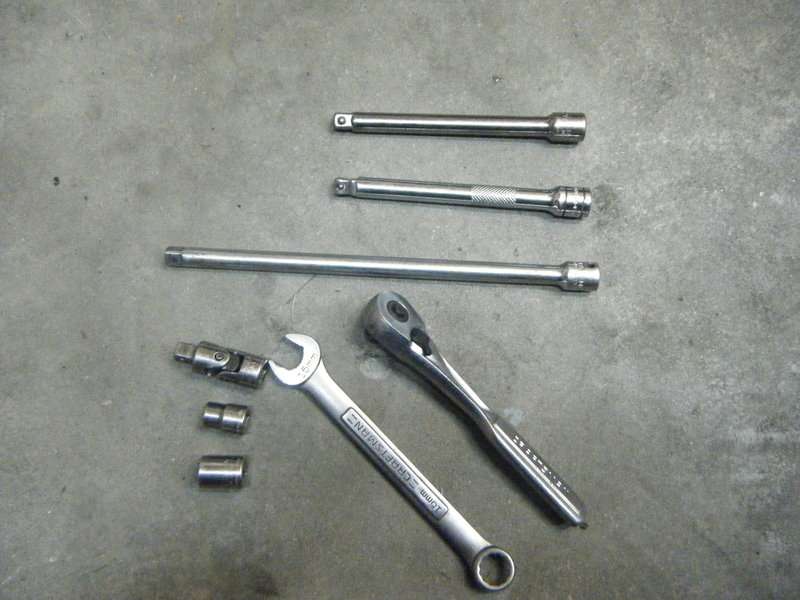
Not shown is the removal of the wheel (reinstall lug nuts at 128Nm) and removal of the wheel well covers.
Drop light replacement to fully light alternator removal (EGR recirculation pipe)

Bolts on lower portion of alternator

Lower bolt extension placement (below steering rack hard line)
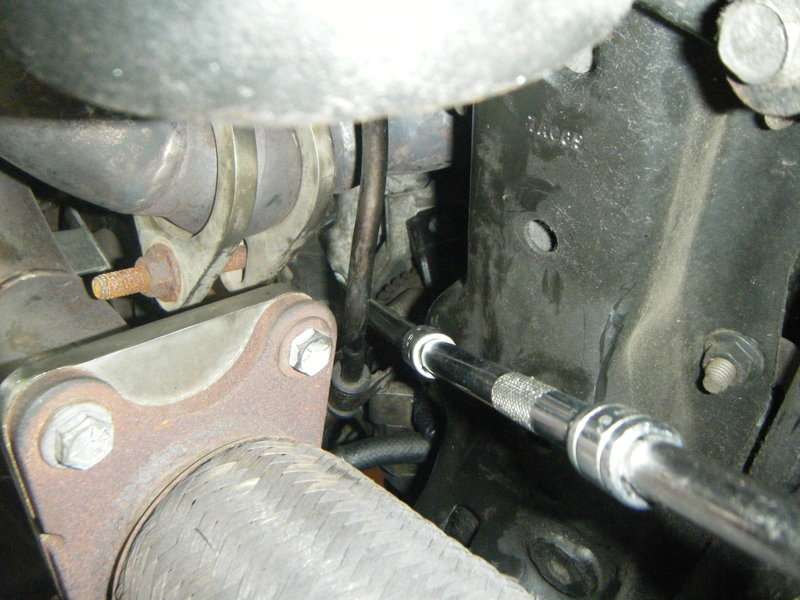
Lower bolt with socket on it with above extension placement (lower bolt removal uses 13mm socket and should be reinstalled at 45Nm)
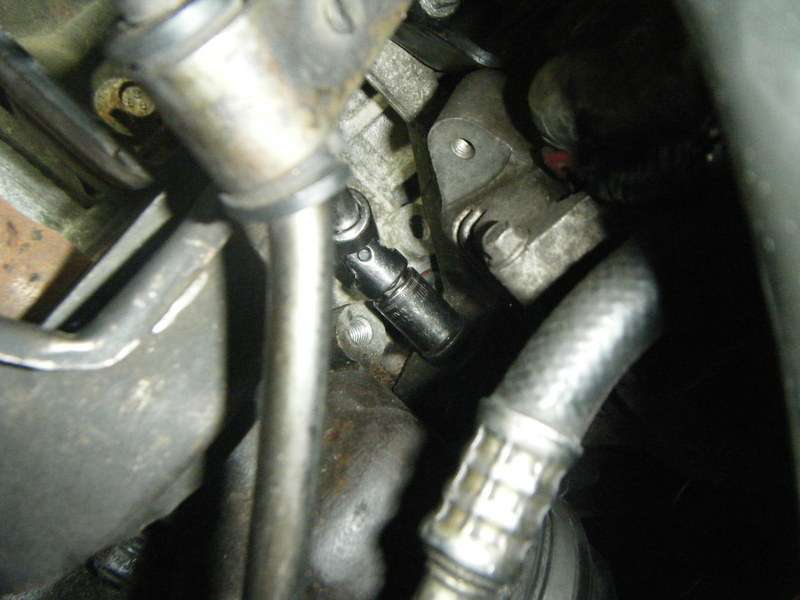
Upper bolt extension placement (above steering rack hard line)
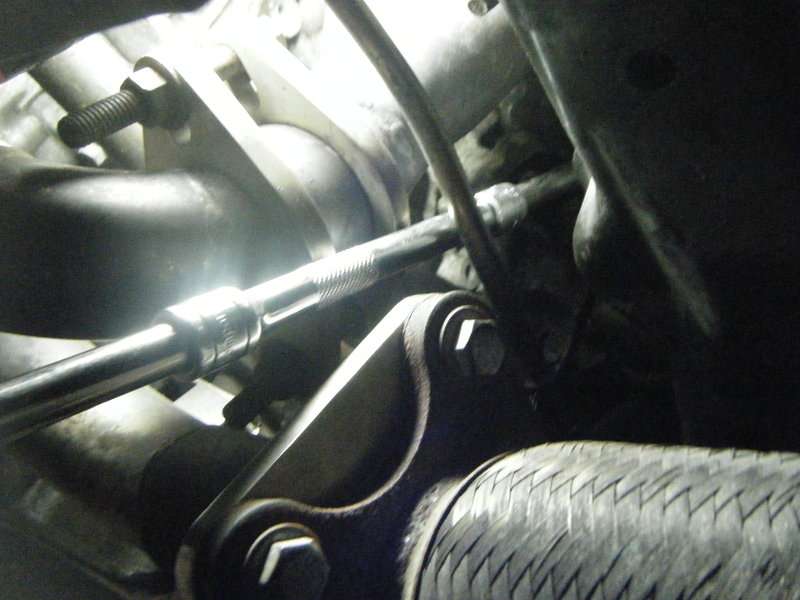
Upper bolt with socket on it shot from wheel well (Upper bolt removal uses 13mm socket and should be reinstalled at 45Nm)
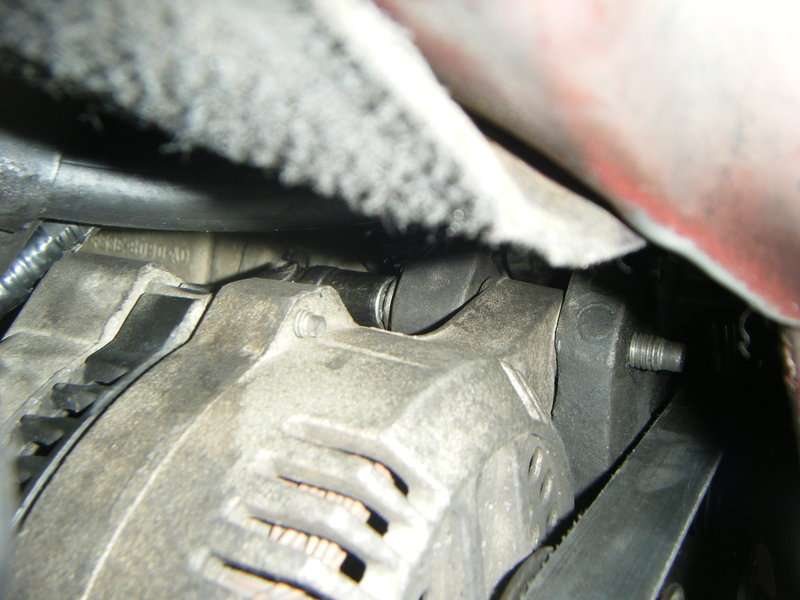
Mid bolt extension placement and bolt (Mid bolt removal uses 10mm socket and should be reinstalled at 25Nm)
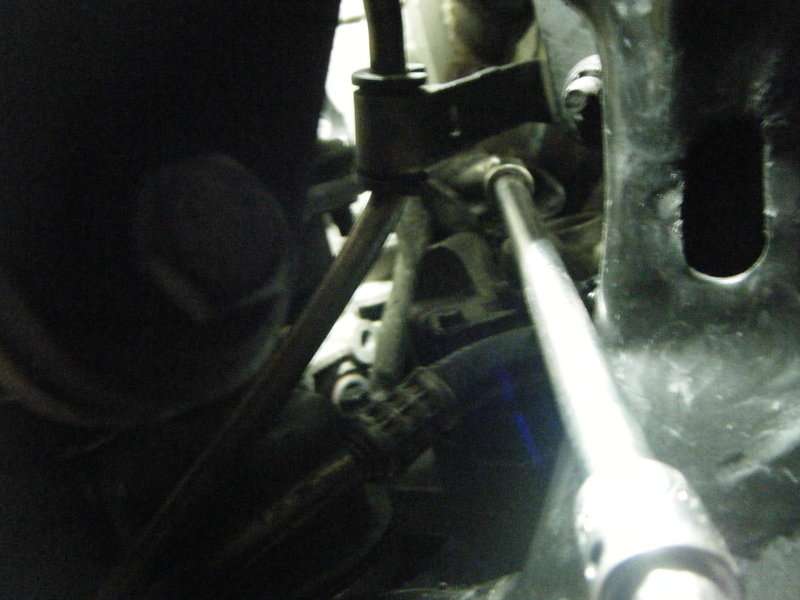
Tie rod removed using 15mm wrench after cotter pin is removed (reinstall at 28Nm with new cotter pin). This is required so that the alternator may be dropped down, tilted back and then pulled out through the opening created by the tie rod removal shown below.

Tools:
15mm wrench (or 15mm deep well 6 point socket)
3/8” universal
3/8” 10mm 6 point socket
3/8” 13mm 6 point socket
3/8” ratchet
3/8” breaker bar
3/8” extentsions
1 – 8”
2 - 5”
Torque wrench capable of 25, 28, 45 and 128Nm

Not shown is the removal of the wheel (reinstall lug nuts at 128Nm) and removal of the wheel well covers.
Drop light replacement to fully light alternator removal (EGR recirculation pipe)

Bolts on lower portion of alternator

Lower bolt extension placement (below steering rack hard line)

Lower bolt with socket on it with above extension placement (lower bolt removal uses 13mm socket and should be reinstalled at 45Nm)

Upper bolt extension placement (above steering rack hard line)

Upper bolt with socket on it shot from wheel well (Upper bolt removal uses 13mm socket and should be reinstalled at 45Nm)

Mid bolt extension placement and bolt (Mid bolt removal uses 10mm socket and should be reinstalled at 25Nm)

Tie rod removed using 15mm wrench after cotter pin is removed (reinstall at 28Nm with new cotter pin). This is required so that the alternator may be dropped down, tilted back and then pulled out through the opening created by the tie rod removal shown below.

