Aussie Ford
Hard-core CEG'er
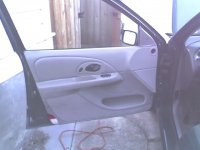
It was a sunny day:
So I decided to finish the saga of my water leak in the door and put it all back together. There has been no more leaking since I removed all that crap in there (see other post).
Now as with most of you I couldn’t just put it back together the way it was without completing a few mods ….. right! (I think there is a rule about that someplace)
I removed the contour master window control mounting bracket and the door handle brackets, and installed the mystique door handle bracket. It drops down whereas the tour one is straight. The master window switch on the mystique mounts in the door pull / arm rest, and there is no other mounting bracket needed.
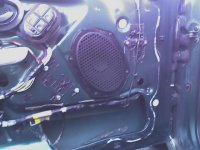
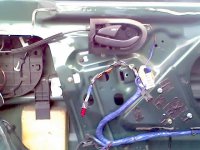
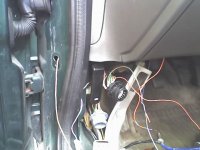
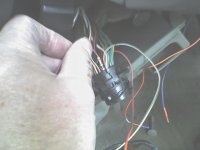
I removed the door wiring harness and installed my revised mystique one with the following options in it:
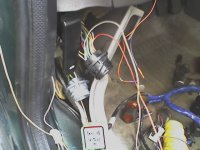
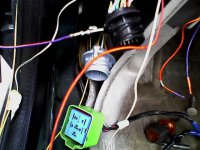
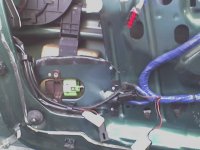
Auto up and down. Auto up relay is the green connector lower rear of the door. The green connector is actually the one used on a 98 I just used it for the heck of it..... LOL
Exterior door handle switch (turns on the courtesy lights inside the car when you lift the handle).Black connector at bottom rear of door.
Exterior lighted lock cylinder. White connector under black connector bottom rear of door.
Heated mirror. 5 wires in connector
Door handle pocket light. Controlled by the dimmer switch. Wires that run to the front side of the door handle pocket with little green bulb.
Under door light. Hangs out of rear lower corner of door.
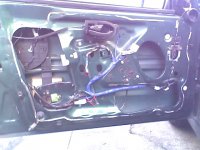
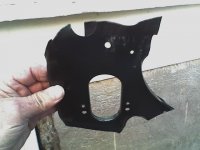
Installing the bracket for the auto up relay:
First you have to get / make one. I go the JY and cut out as large of an area around the mounting hole as is reasonable to do with a pair of tin snips. One from each side if you are planning on installing two on your car. Do a little trial fitting to see how it is going to mount and some tinkering to get it to fit right. Once the fit is established I bend the edges about ¼” over to add strength to stiffen it up. Next I beat it over a round punch to form a pocket for the wires to run through then put tape over the edges to protect the sharp edge. Fit it one last time and pop rivet it in place. Everything should be out of the way of the window glass. Test it before closing up the door. The bracket will be in the way of the sound deadener in the door panel cover. I just take a saw and cut that down to accommodate the situation as needed.
Continued:
So I decided to finish the saga of my water leak in the door and put it all back together. There has been no more leaking since I removed all that crap in there (see other post).
Now as with most of you I couldn’t just put it back together the way it was without completing a few mods ….. right! (I think there is a rule about that someplace)
I removed the contour master window control mounting bracket and the door handle brackets, and installed the mystique door handle bracket. It drops down whereas the tour one is straight. The master window switch on the mystique mounts in the door pull / arm rest, and there is no other mounting bracket needed.


I removed the door wiring harness and installed my revised mystique one with the following options in it:
Auto up and down. Auto up relay is the green connector lower rear of the door. The green connector is actually the one used on a 98 I just used it for the heck of it..... LOL
Exterior door handle switch (turns on the courtesy lights inside the car when you lift the handle).Black connector at bottom rear of door.
Exterior lighted lock cylinder. White connector under black connector bottom rear of door.
Heated mirror. 5 wires in connector
Door handle pocket light. Controlled by the dimmer switch. Wires that run to the front side of the door handle pocket with little green bulb.
Under door light. Hangs out of rear lower corner of door.

Installing the bracket for the auto up relay:
First you have to get / make one. I go the JY and cut out as large of an area around the mounting hole as is reasonable to do with a pair of tin snips. One from each side if you are planning on installing two on your car. Do a little trial fitting to see how it is going to mount and some tinkering to get it to fit right. Once the fit is established I bend the edges about ¼” over to add strength to stiffen it up. Next I beat it over a round punch to form a pocket for the wires to run through then put tape over the edges to protect the sharp edge. Fit it one last time and pop rivet it in place. Everything should be out of the way of the window glass. Test it before closing up the door. The bracket will be in the way of the sound deadener in the door panel cover. I just take a saw and cut that down to accommodate the situation as needed.


Continued:

