• Welcome to the Contour Enthusiasts Group, the best resource for the Ford Contour and Mercury Mystique.

    You can register to join the community.

#49's new powerplant has arrived, let the build begin

funny how everyone was so slow to buy that quaife I was selling earlier this year..... especially considering I was selling a brand new in box one for less than the price of a new torsen.:nonono:

still have some green samco hoses though:laugh: anyone want them?
damn wished i had seen that
 
sold it for 500 shipped including carrier bearings and the shims.:shrug: Took more than a week before anyone even showed any real interest.

The samco hose kit never sold even at 150 shipped.

I was kinda disappointed honestly.

/threadjack
 
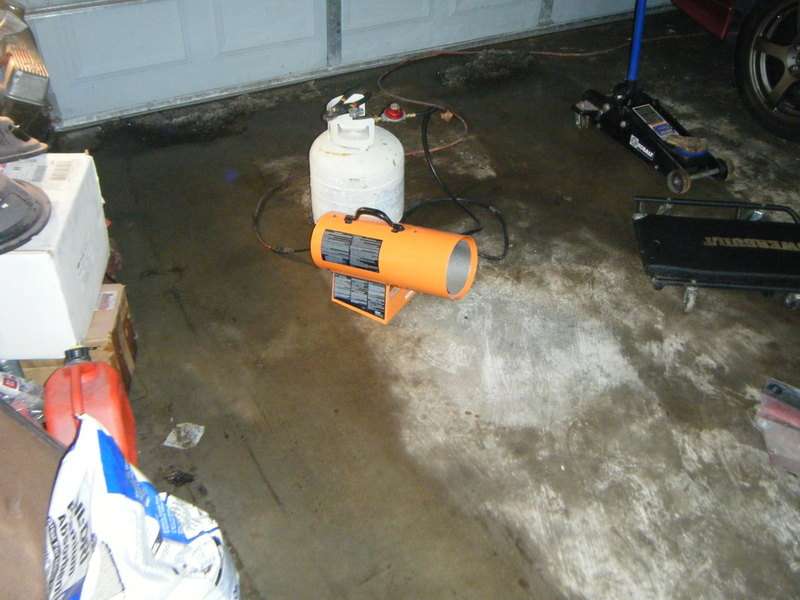
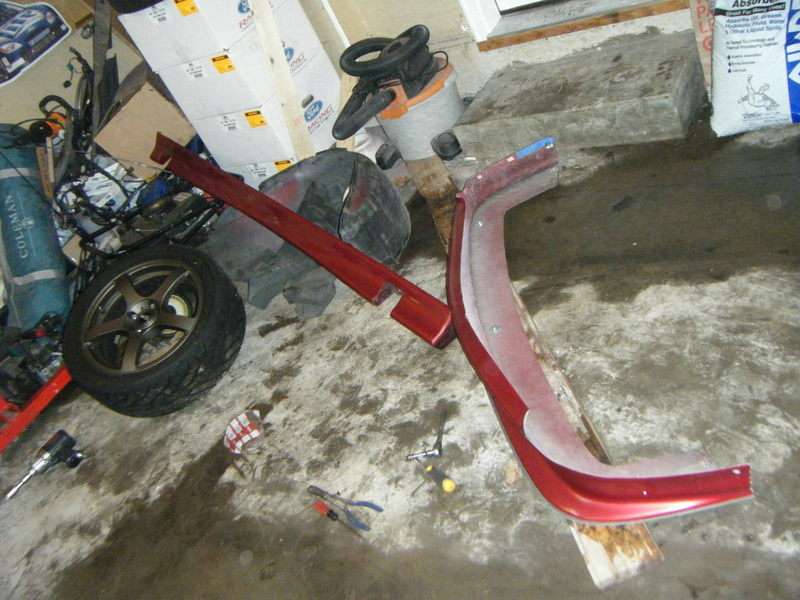
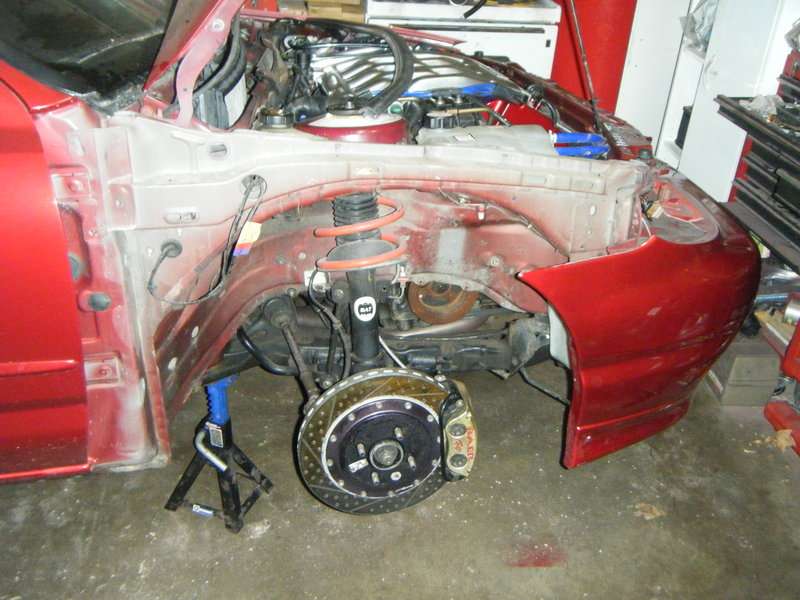
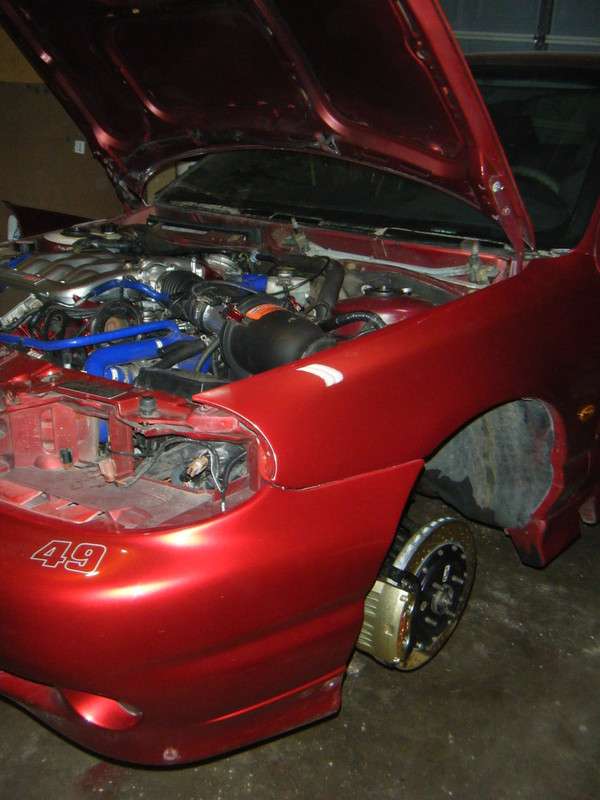
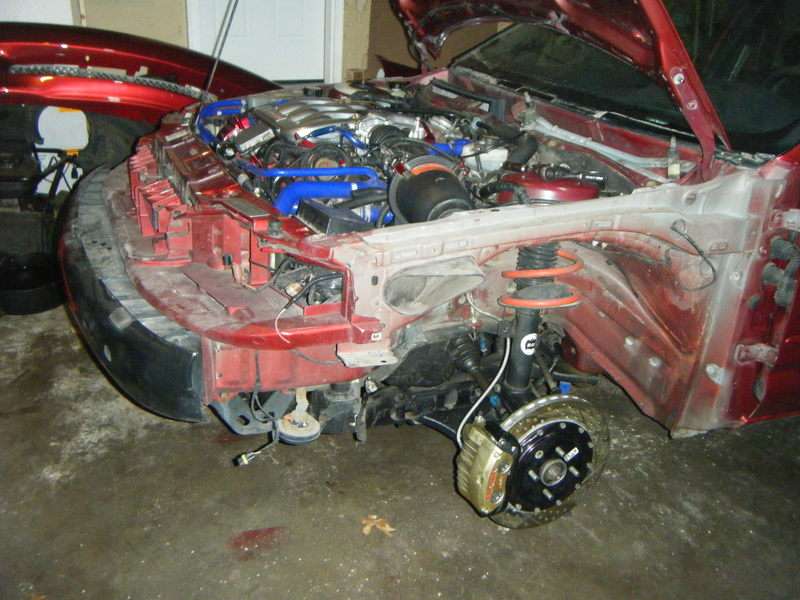
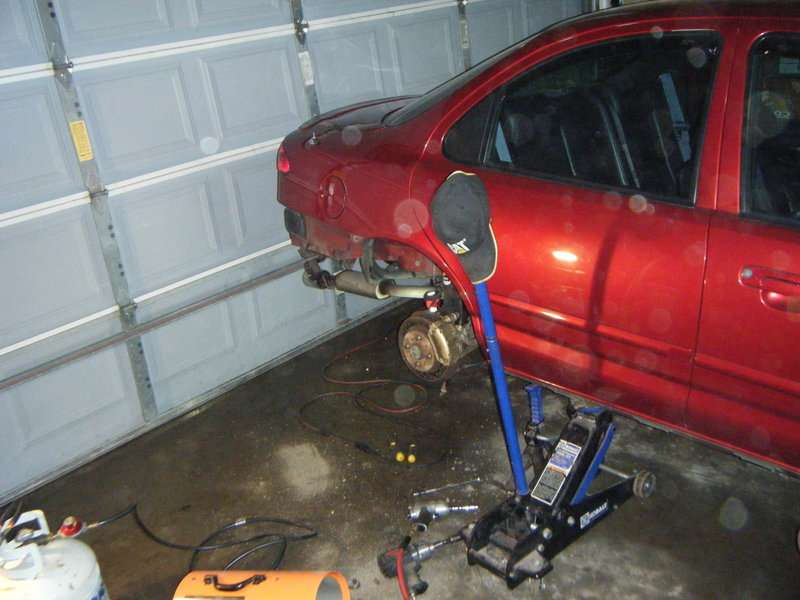
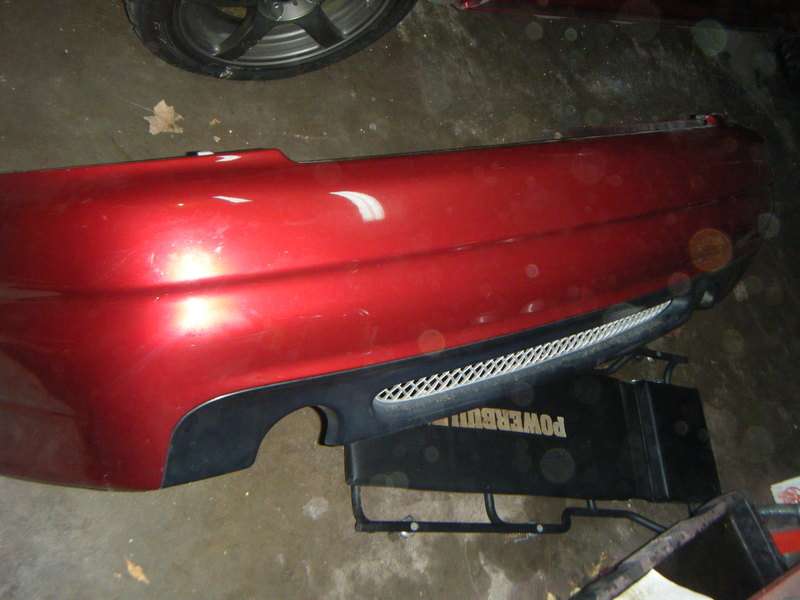
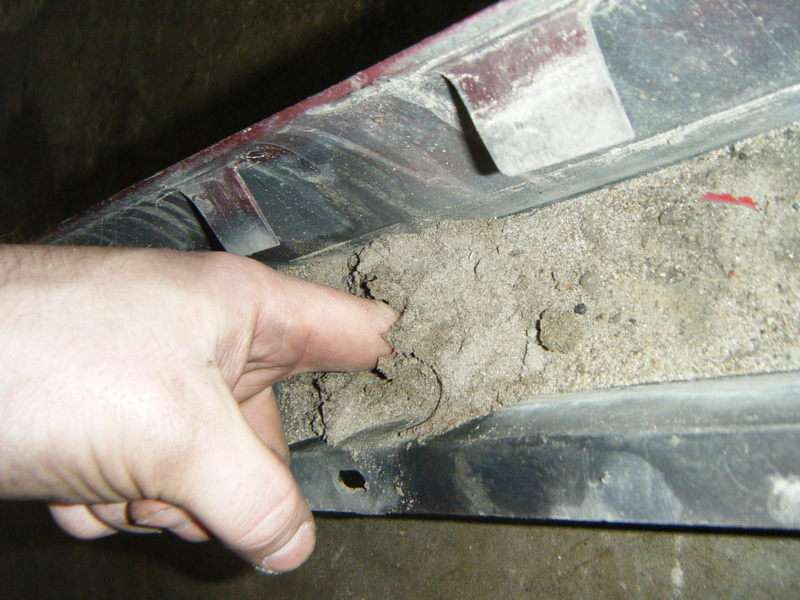
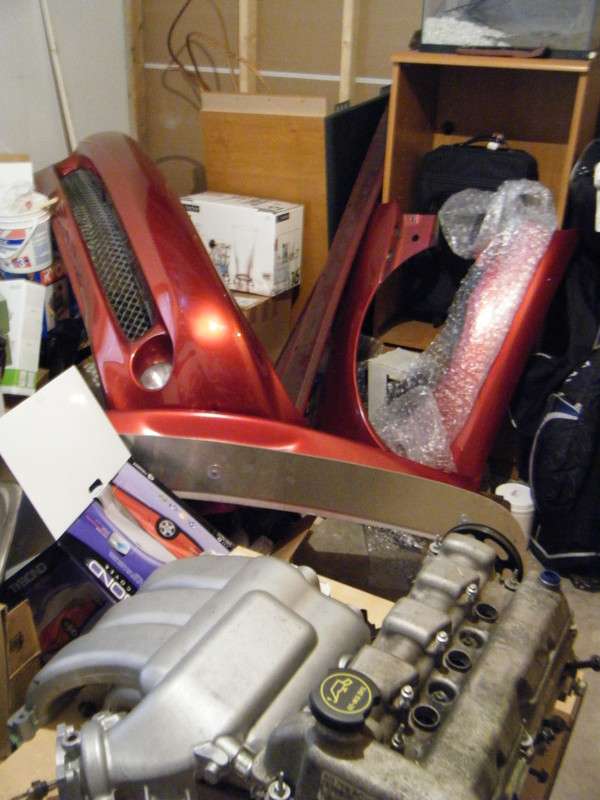
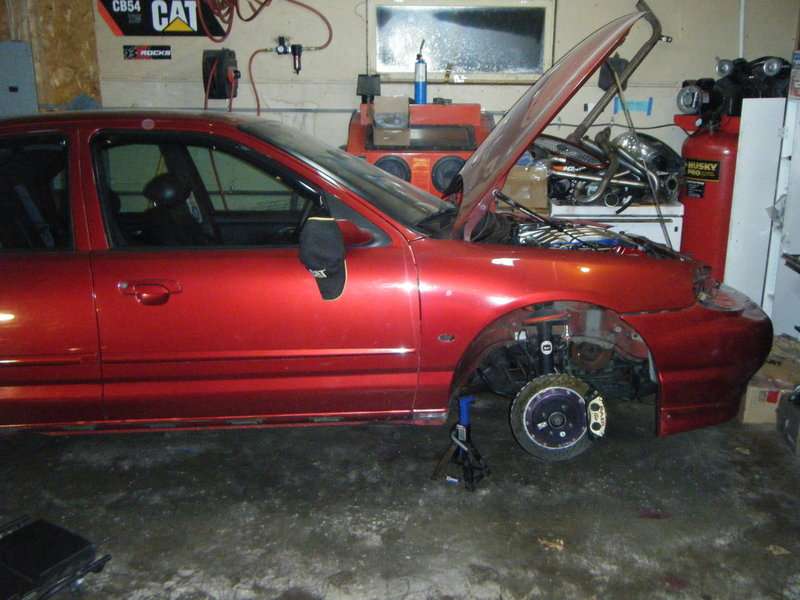
And here you go, pics of the exterior tear down.

dscf2320t.jpg


Need some heat in the frozen tundra...
dscf2321c.jpg


dscf2322t.jpg

dscf2323.jpg

dscf2325t.jpg


dscf2335.jpg


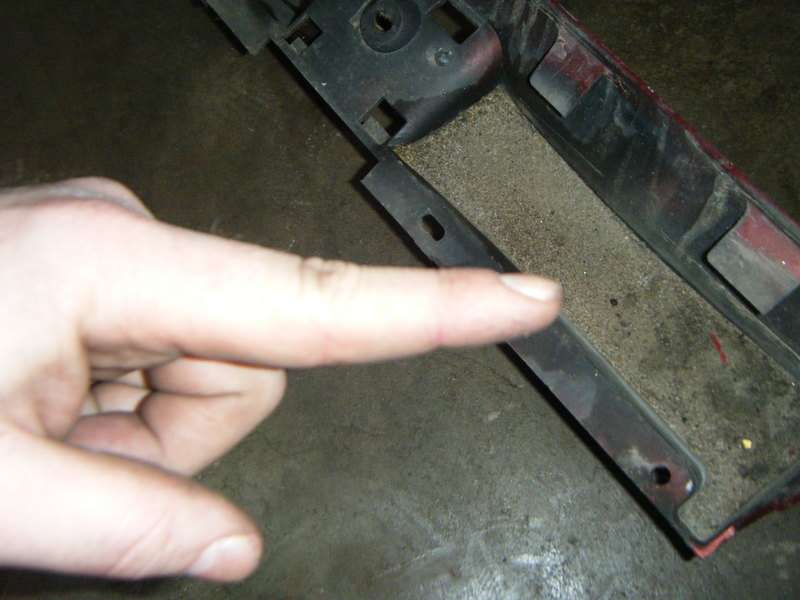
Then I got some crap on the camera so excuse the spots
dscf2349e.jpg

dscf2348c.jpg
 
Oh and where do all of these parts go with such a small work space...

my basements unfinished spare bedroom :crazy: hopefully the wife doesn't step in there anytime soon (I packed it full when it was 1:30am and she was sleeping :laugh:). It's kinda turning in to my spare parts/office area. Anyone want to buy a full sized L shaped office desk with a marble counter top?

dscf2358i.jpg


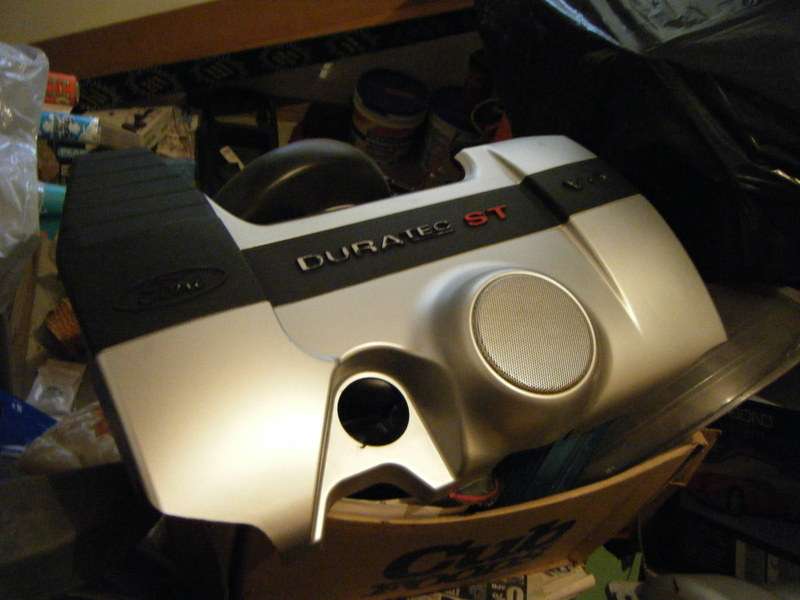
Oh and look what came in the mail a few days ago...

needs some TLC, but I have some plans for it anyway.

dscf2360n.jpg
 
Very nice Mike! I've got to take off my front and rear bumpers for some painting and body work - any tips or instructions on how they come off?
 
Very nice Mike! I've got to take off my front and rear bumpers for some painting and body work - any tips or instructions on how they come off?

Very easy actually. It helps to have the Ford service manual CD. I can give you a copy if you want to swing by... just bring a blank CD.

Front bumper:

4 bolts, 2 on each side that go up through fender just behind the headlight. You will need to remove the inner wheel well liner to gain access to them.

2 more bolts, 1 on each side that go through the bottom back corners of the bumper to keep it held out.

2 push in tabs on the top of the bumper directly under the headlights and front grill

Rear bumper:
2 machine screws, 1 on each side behind the inner wheel well liner at the edge of the bumper in the arc.

4 large nuts (13mm), 2 on each side just above the exhaust tip on the bumper support.

I'd give you the sizes for the other bolts in the front bumper, but mine have been changed out and may be different. I believe the 4 bolts on the front bumper that go into the fender should be 10mm and the bottom 2 bolts are 8mm, but I'm not 100% positive on that.
 
Very easy actually. It helps to have the Ford service manual CD. I can give you a copy if you want to swing by... just bring a blank CD.

Front bumper:

2 bolts on each side that go up through fender just behind the headlight. You will need to remove the inner wheel well liner to gain access to them.

2 more bolts, one on each side that go through the bottom back corners of the bumper to keep it held out.

2 push in tabs on the top of the bumper directly under the headlights and front grill

Rear bumper:
2 machine screws, one on each side behind the inner wheel well liner at the edge of the bumper in the arc.

4 large nuts (13mm), 2 on each side just above the exhaust tip on the bumper support.

Thats it? The front bumper is held on with 2 bolts, 2 tabs and the little bars that go to the outside corners? Tee rear is super easy as well - I've got 2 spare fronts and a spare rear, I would have thought they would be held on by more. Thx man! I'll have to swing by some time - I tried getting that cd once but it was corrupter.
 
More good news too! I heard back from Full-Race last night and they are willing to work with me on a set of traction bars. Score!

This smiley seemed more appropriate heh...

rockwoot.gif


or maybe...

megadj.gif
 
2 spare fronts you say...

Are they both in good condition? My driver side wheel well on my front is flexed and it bows out a little more then it should...

I'll have to look - cosmetically one is damn near perfect, but is missing one mounting tab for a fog light. The other may have some damage on the lower lip, looks like it caught a curb and got a small tear. I've actually got all 3 bumpers at my place, I'll have to take a look at them.
 
I'll have to look - cosmetically one is damn near perfect, but is missing one mounting tab for a fog light. The other may have some damage on the lower lip, looks like it caught a curb and got a small tear. I've actually got all 3 bumpers at my place, I'll have to take a look at them.

My rear bumper is easily repairable... but the front I'm not so sure. I think it needs to be heated up and bent back into shape, which I would imagine is not an easy task. I guess I'll have to talk with the body shop and see what they think. But starting with a bumper that is true to form might be a better route.
 
My rear bumper is easily repairable... but the front I'm not so sure. I think it needs to be heated up and bent back into shape, which I would imagine is not an easy task. I guess I'll have to talk with the body shop and see what they think. But starting with a bumper that is true to form might be a better route.

Yeah - with your car being a CEG idol, it's gota look nice :cool:
 
Yeah - with your car being a CEG idol, it's gota look nice :cool:

Haha I don't know if I'd say idol yet. However I am going to try and get this car featured in a magazine when everything is said and done. Soley because of the amount of time and effort that is going into this project and the number of companies that are assisting me along the way.
 
What are your plans for the interior?

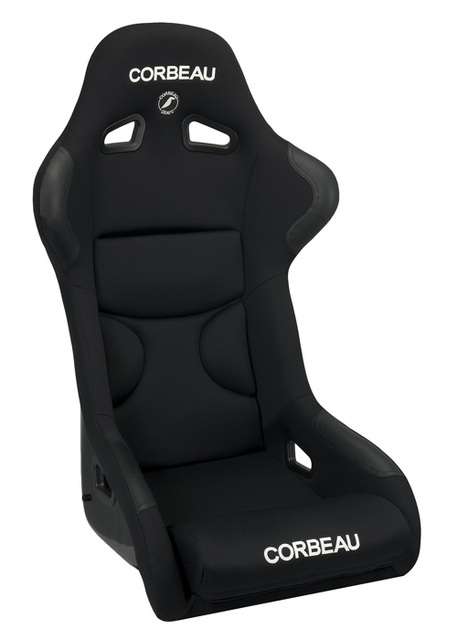
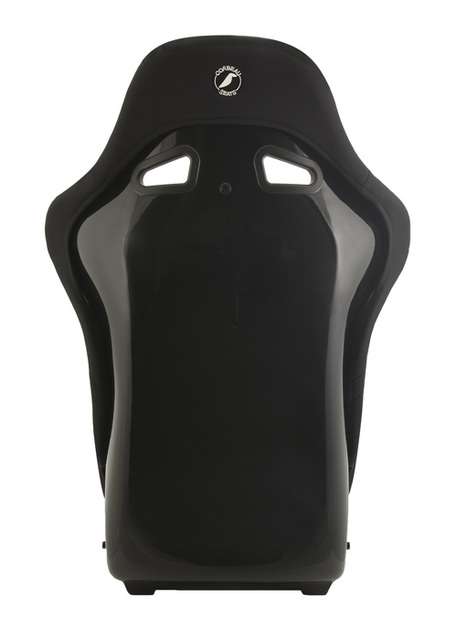
I like my interior the way it is actually. Pre98 center console painted in OEM MB with the cover wrapped in the same MB vinyl used on the doors. All bezels on the dash and center console are paint matched to the toreador red, 3 gauge pod in OEM MB paint with Faze gauges, Innovate Motorsports Wideband DB gauge in the coin pocket, Mondeo trip computer (which will be completely functional). Only things I have planned are Corbeau FX1 Pro racing seats with matched MB vinyl, harness bar, and maybe a flip up screen with a carputer.

Heres the seat below. I run Corbeau Forza's in my Camaro and absolutely love them and these are the next step up.

fx129501srxl.jpg
fx129501bxl.jpg
 
Oh and because of all of the expenses I'm incurring over this build... this is all I'm going to be drinking for alcoholic beverages from here on out...

Only $3.99 a bottle :laugh:

img00081200912232136.jpg
 
Oh and because of all of the expenses I'm incurring over this build... this is all I'm going to be drinking for alcoholic beverages from here on out...

Only $3.99 a bottle :laugh:

img00081200912232136.jpg
lol. Yeah i dont like the pre98. I used to till i installed one. It feels like its made cheaper and mine squeeked alot. I want my 98 back. Its alot smoother to me anyway and it feels like theres more room in it. But im guessing your going for the extra din/pocket below the stereo?
 
Back
Top