• Welcome to the Contour Enthusiasts Group, the best resource for the Ford Contour and Mercury Mystique.

    You can register to join the community.

questions before re-assembling/installing heads

SVT#4967

CEG'er
Joined
Sep 12, 2007
Messages
322
Location
Michigan
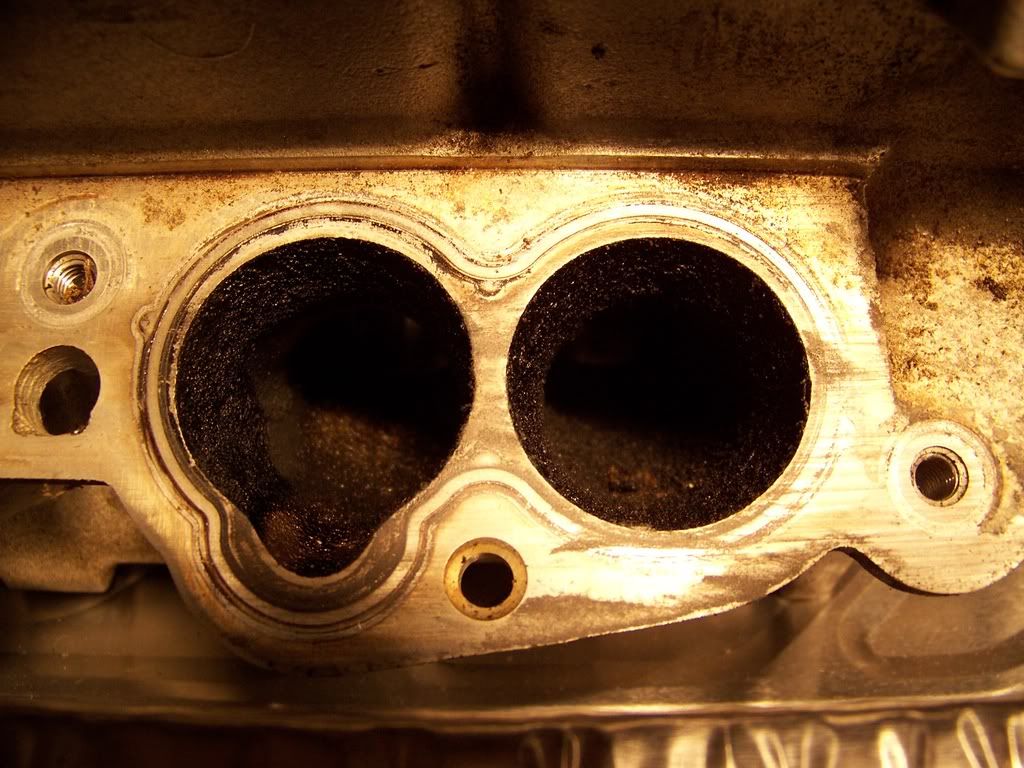
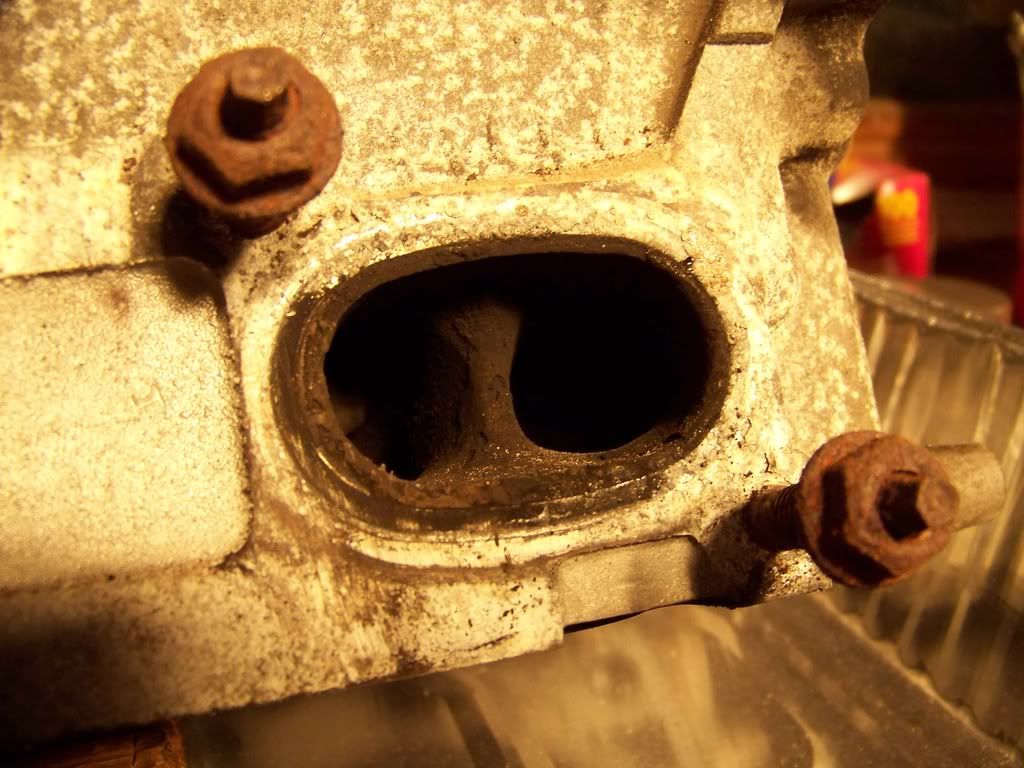
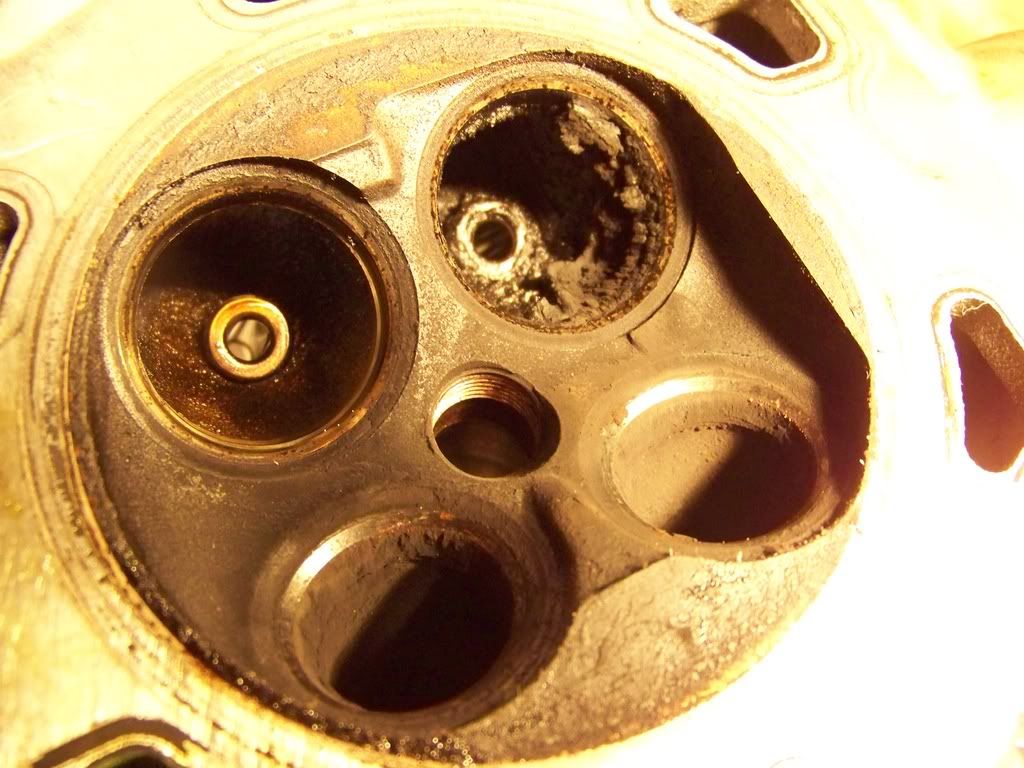
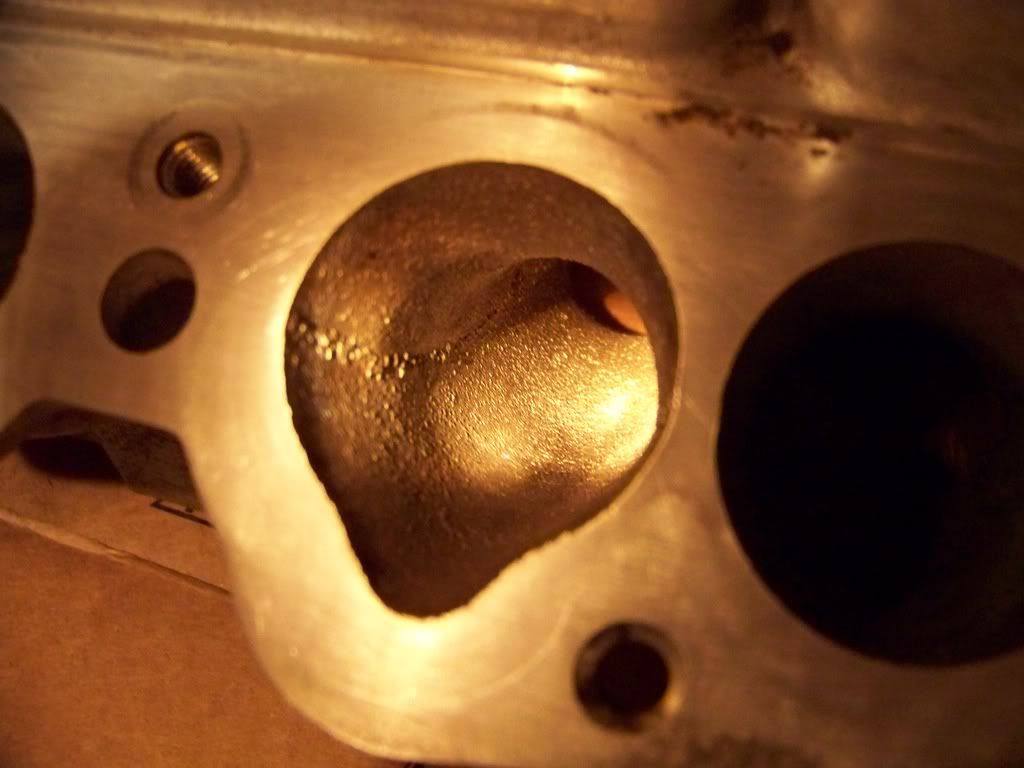
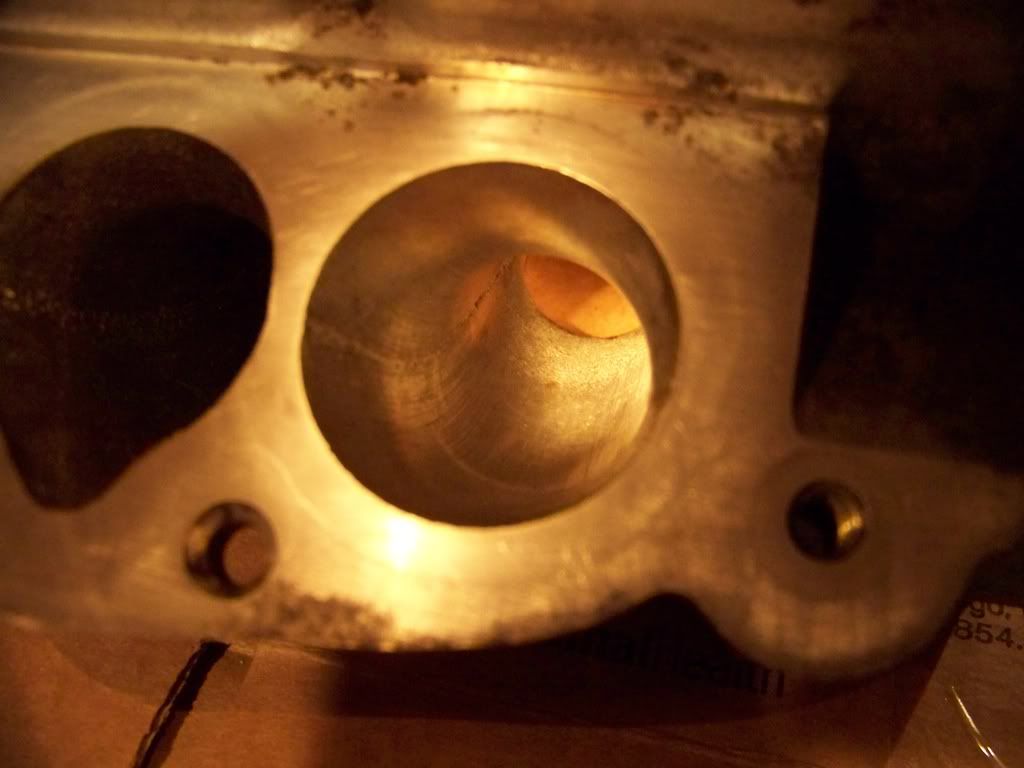
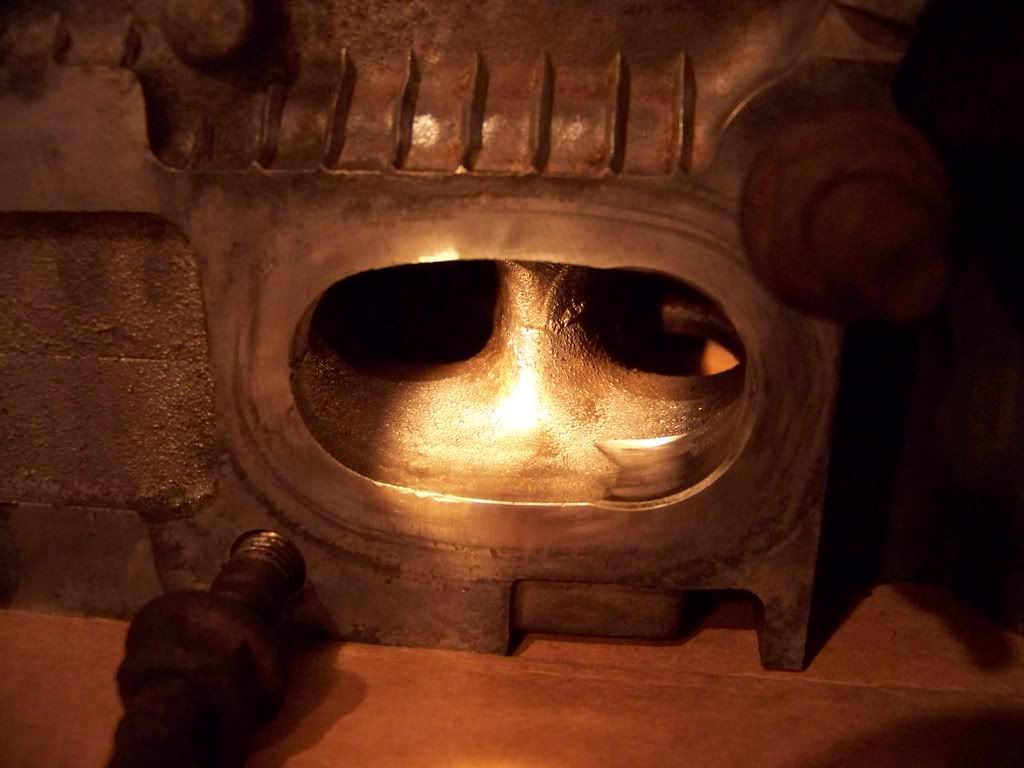
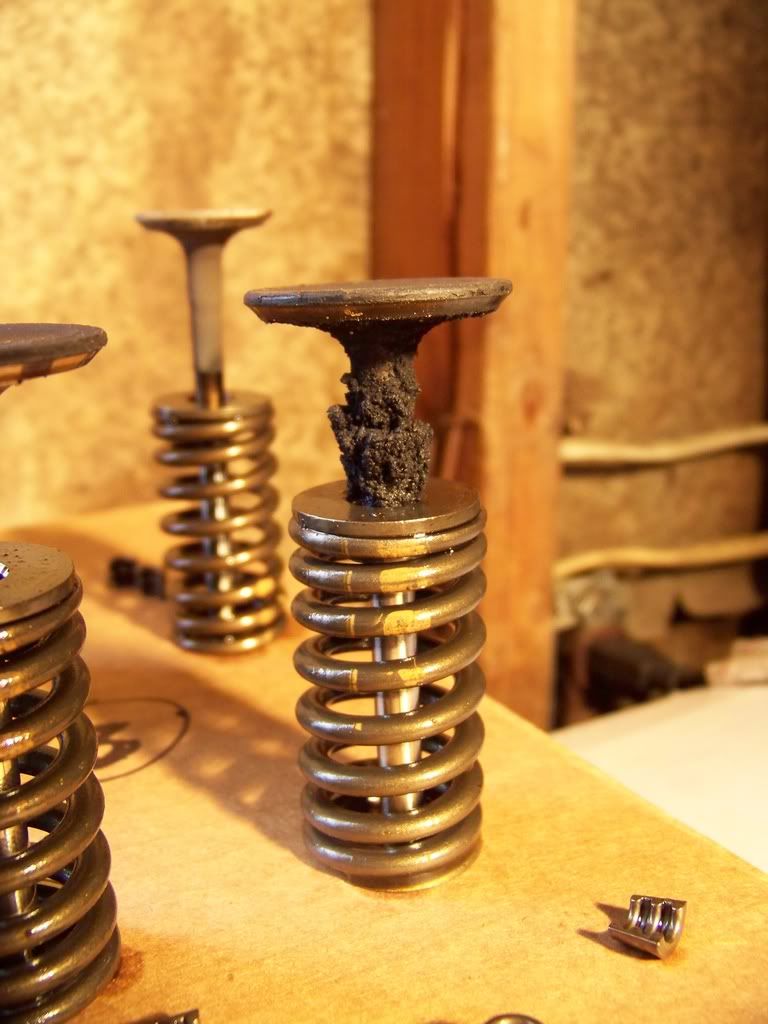
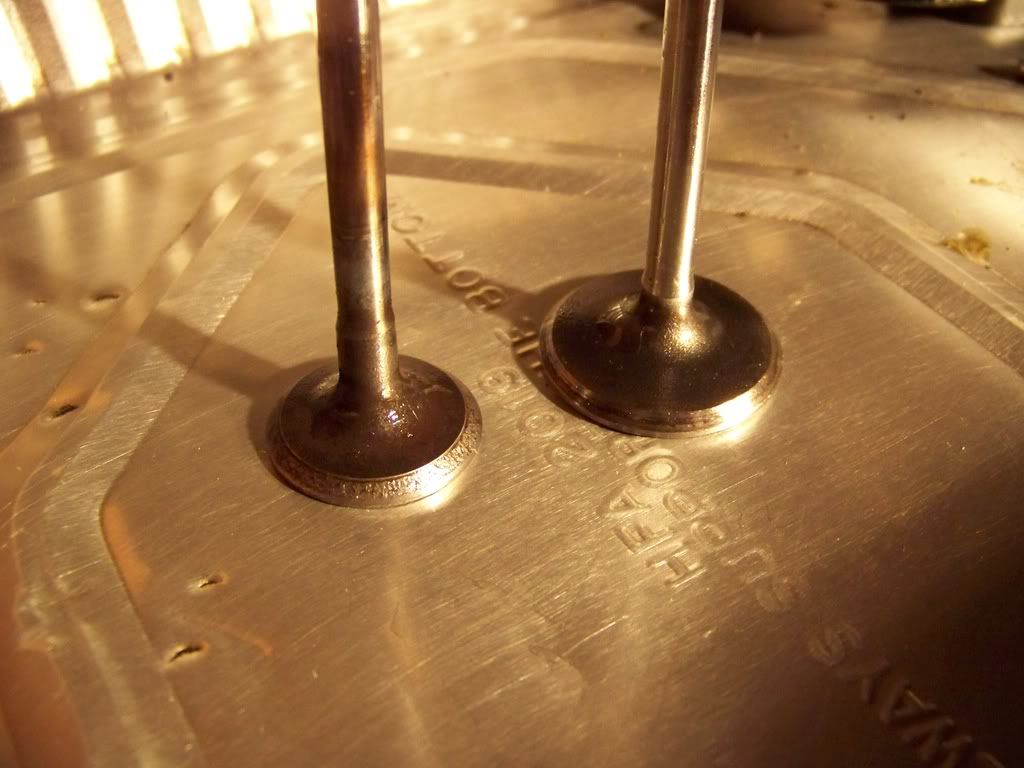
ok, I have my heads and valves all cleaned up now. Used a small wire wheel on a dremmel to speed up cleaning the ports in the heads, the secondaries were really nasty. I then used a combination of brushes and Berryman's B-12 to get the ports completely clean. Used Berryman's B-9 Chem-Dip on the valves, worked pretty good but the exhaust valve didn't come all that clean so I used a brass wire wheel on a bench grinder and cleaned the valves all up. I have before and after pictures at home and will post them later. My question is...

I am planning to start re-assembling the heads, putting the new valve seals in, putting the valves back in as well as the valve springs/retainers/keepers, today. Is there anything I should do to anything before reinstalling everything? I assume I should put a light coat of oil on the valve stems as I put them into the valve guides? Then just re-assembly everything in reverse of removal?

When I put the heads back onto the block, should I coat the cylinder walls will anything? When I first removed the heads I wiped some oil on the cylinder walls but that didn't seem to work very well so I wiped them down with WD-40 and that seems to have worked fine to keep rust off there.

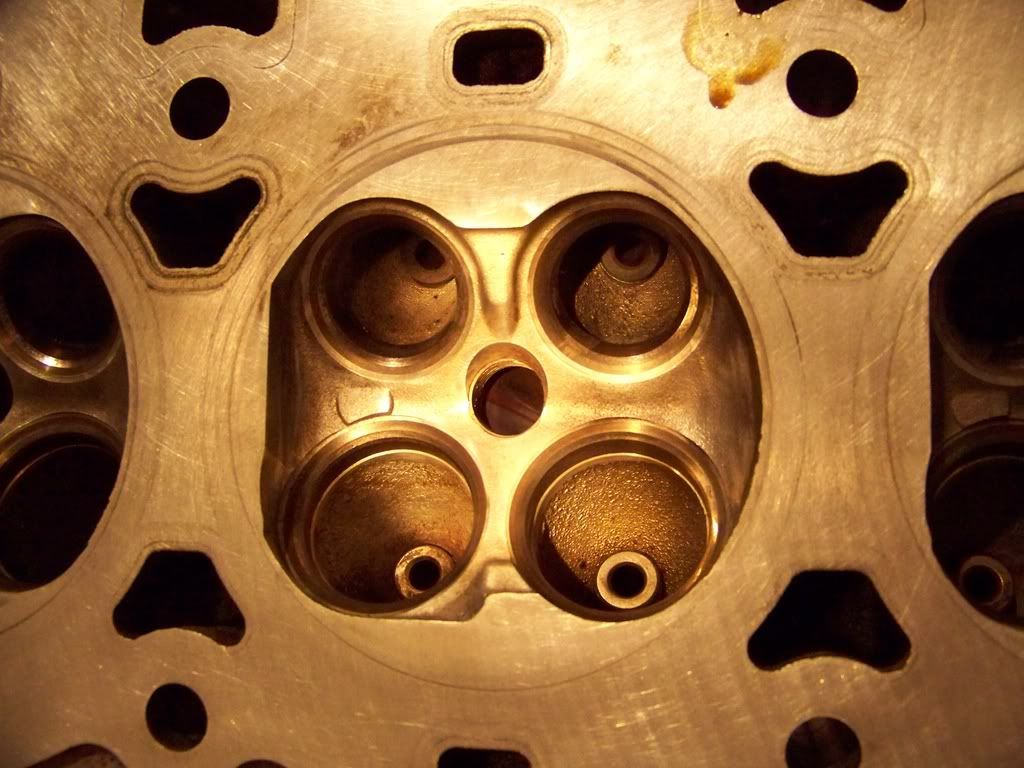
I've also stoned the bottom of the heads as well as the block to ensure I have all gasket material and anything else off.

I don't need to do anything to make sure the valve seat fine with the head right? I have everything marked as to where they came from so each valve/valve spring/retainer/keeper will be put back into the exact spot it came from.

Any other tips or things I should be doing? Just want to make sure I'm not missing something and want to make sure the car runs smoothly after being put all back together.
 
Here are some pictures, the clean ones are of the RH head and the dirty ones are of the LH head.

Dirty Intake Ports


Dirty Exhaust Ports


Dirty


Clean Primary Intake Port


Clean Secondary Intake Port


Clean Exhaust Ports


Clean


As you can see, the heads were REALLY nasty, especially the secondaries. I don't have pictures of the cleaned valves, I will have to take a picture of those later.

So any tips/advise on my questions from my first post?
 
Looks like you are doing a good job. I would put a little oil on the stuff before I put it back together, just to make sure the is lube there for that first start up. Make sure you get new head bolts. They are Torque to yeld, so must be replaced.

Check and recheck on the timing when you put the cams back in.

Good luck.
 
Thanks! yeah, the intake ports were really dirty huh. I'm glad I decided to take it all apart and clean it all up real good.

yeah, I ordered some Torco Engine Assembly Lube HP which is for the valve train (cam journals, cam caps, cam lobes, rollers, etc.) and some regular Torco Engine Assembly Lube for the cam gears, chains, drive gears, etc..

I have 16 new Ford head bolts.

Should coat the cylinder walls with anything or leave them as is?

Do I need to do anything to make sure the valves are seating good against the heads? I snapped a picture of the cleaned valves, I will have to upload that and post it soon.

Thanks for the response! Just trying to make sure I cover all the bases you know...
 
well I assembled the heads yesterday. Wasn't bad.

I then got them installed later in the day. The cylinder walls were oily from the WD-40 I sprayed on them from earlier so I left them alone, that should be ok right? Figured I would rotate the engine a few times before I try starting it up, that way it would cycle some oil through parts of the engine that had drained from sitting this long, including the cylinder walls.

Made progress yesterday though. I got the heads assembled, installed them, installed the headers, installed the new water pump, installed the new water pump belt tensioner, installed new thermostat and gasket, installed the thermostat housing, got the hard coolant pipe bolted back down to the head, etc. Waiting on the engine assembly lube so I can install all the timing components. Hopefully that'll be in tomorrow.
 
Did you lap in the valves before you reassembled the heads? Need to lap the valves for a 100% seal and check them with 'blue'.
 
Did you lap in the valves before you reassembled the heads? Need to lap the valves for a 100% seal and check them with 'blue'.

Well damn!! obviously by my reaction you can tell I didn't.

As I said earlier I already mounted the heads and some other stuff. I would REALLY hate to tear it back apart but I don't want it to not hold compression either. Can I assemble a few more things like the camshafts, timing chains, front cover, valve covers and oil pan. Then put some oil in and test for compression without finish assembling everything else? That way I can see if I need to lap the valves or not.

If I don't have to tear it back apart I would prefer it. The bolts are already torqued and everything.

Just looking if I can check it then if need be tear it back apart? I know it's not ideal but if it holds compression fine then I don't see why I would have to tear it back apart to lap the valves right?
 
I've lost count of the valve jobs I've done over the years. The only time I lapped the valves was on my first valve grind, in high school auto shop. The valves will seat in just fine as the engine runs.

If it is necessary to do a full valve job (uncommon today) I can pass on a few hard learned pointers. Be very careful of how you dress the valve seats. Too narrow and it won't hold up. Too wide and it will allow carbon to build up too easily, eventually causing the valve to burn. Too deep and the valve is shrouded causing lower performance as well as assembled height problems (lower spring pressure and upset angles with the rest of the valve train).

To aid the valve to rapidly seat, it helps to grind the seat at the factory recommended angle, and the valve at 1 degree less.

The additional angles on the port side of the seat approach is an item for a much deeper discussion. Back cutting the valve is also in this category. Both of these things border on head porting.
 
well, that eases my mind some. I've been stressing about this all night so far. Debating on what to do and if I should take it all back out or go ahead as planned and do a compression test and see how it checks.

So you think it will be fine? Do you think a compression test would be a good idea? If compression checks ok then I should be fine right?
 
ok, I guess I will go ahead as planned and see how it goes.

Just out of curiosity though, would it save me any time to try a compression test before I go too far and maybe have to tear more apart?

For when I do get it started, what should I look out for? What are some things I should do before I start the car?

Sorry for all the questions, this is the first time I've torn a motor like this apart and I am just trying to make sure everything goes as smoothly as possible.

Thanks for the replies!!
 
Last edited:
... What are some things I should do before I start the car?...

After you get things back together valve train wise, crank the engine over by hand many times and check to see if all the valve keepers stayed in place.

Before I installed the front cover and valve covers on my rebuild, I added enough oil to the pan to cover the pick up. Don't even install the new gasket. Use 4 bolts to hold the pan to the block finger tight. Crank over the engine to build up oil pressure to the heads. The excess oil from the tensioners will mostly drain into the pan. Note the tiny oil port in each tensioner that squirts oil on the chains as you build up the pressure. The above steps are a bit anal but it was nice to see the oil getting every where before all the covers where on.
 
ok, I planned to turn it over by hand to get the oil pumped through the engine but didn't think to do it with the covers off. Will I have oil squirt anywhere out of the engine, meaning will I have to cover anything? If I put the side cover on, I could probably have my girls brother shine a light down there and watch the tensioner to squirt oil on the chains right? I can't recall how much was visible from above with the cover on. I will be using new chain tensioners as well, decided to play it safe and just replace them.

The engine assembly lube is scheduled to be here today so I will start assembling all that today when it gets here. I have the front cover cleaned, new tensioner installed and new seals. Just have to install the new crankshaft oil seal into the front cover and the new camshaft oil seal into the retainer. Will probably stop today at AutoZone and rent a pulley remover/installer so I can install the crankshaft pulley and water pump pulley after all the covers go on.
 
Cranking the engine by hand is not likely to build oil pressure. The pump will need more speed to do much of anything.

Make sure that you turn the engine in the proper rotation. Turning it backward is likely to cause damage.

Turn the engine by hand several times to see that everything is staying together, then disconnect the coil primary connector and crank with the starter until you have oil pressure.
 
ok, stupid question... how will I know when I have oil pressure?

Also, in preparation for installing the timing stuff I was reading through the procedure on the install. The manual says to install the hydraulic valve adjusters and then the camshafts, after torquing the cam caps down you install the roller followers?!?! How is that? So I looked around some more and saw a step in another section saying to do the same but they added this time "using the valve spring compressor tool install the roller follower". Well my valve spring compressor isn't the same as what they show so that wont work. So do I disregard the manual here and install the roller followers before installing the camshafts and cam caps?
 
ok, stupid question... how will I know when I have oil pressure?

... The manual says to install the hydraulic valve adjusters and then the camshafts, after torquing the cam caps down you install the roller followers?!?! How is that?

What manual are you following?

Print out the pages from the Ford manual I linked and follow it step by step.
The finger followers are installed with the cam caps just finger tight. One bank at a time after rotating the engine to different positions. Re-read till you understand whats going on.

http://nbc.servehttp.com/images/Auto/Engine Build Sheets/2.5L Engine Re-Assembly.pdf
 
Back
Top