• Welcome to the Contour Enthusiasts Group, the best resource for the Ford Contour and Mercury Mystique.

    You can register to join the community.

#49's new powerplant has arrived, let the build begin

The poly bushings in the trailing arms make a pretty astonishing handling improvement. I would urge you to take care of those while it's on the bench.
 
^^No doubt. I would definately change them Mike. If they make an Energy bushing for it...my cars and trucks have it...so much better than stock.

FWIW, if you have an air chisel it's a 5 minute job. The arms look great! May have to make some more....
Yes...make MOAR. lol
 
Well I finally picked up the camber adjustment washer at Ford. So I've got that drying with POR15. So that's the last piece of the puzzle for the rear suspension. However now I need to turn my attention to what I hope is the last problem I find with my build... the filler neck pipe for the fuel tank.

I have to find some stainless tube that I can use to recreate the filler neck and then modify the fuel tank itself by cutting off the windowed flange tube for the filler neck white locking collar and replace it with a barb ended tube flange so I can hook up a hose to it for the filler neck connection. The barbed flange is easy, just need to weld a tube to a plate and epoxy it to the tank. The filler neck is more challenging because it has a few safety features to it that need to be recreated... Siphon flap at the end, fire stop, and vent.
 
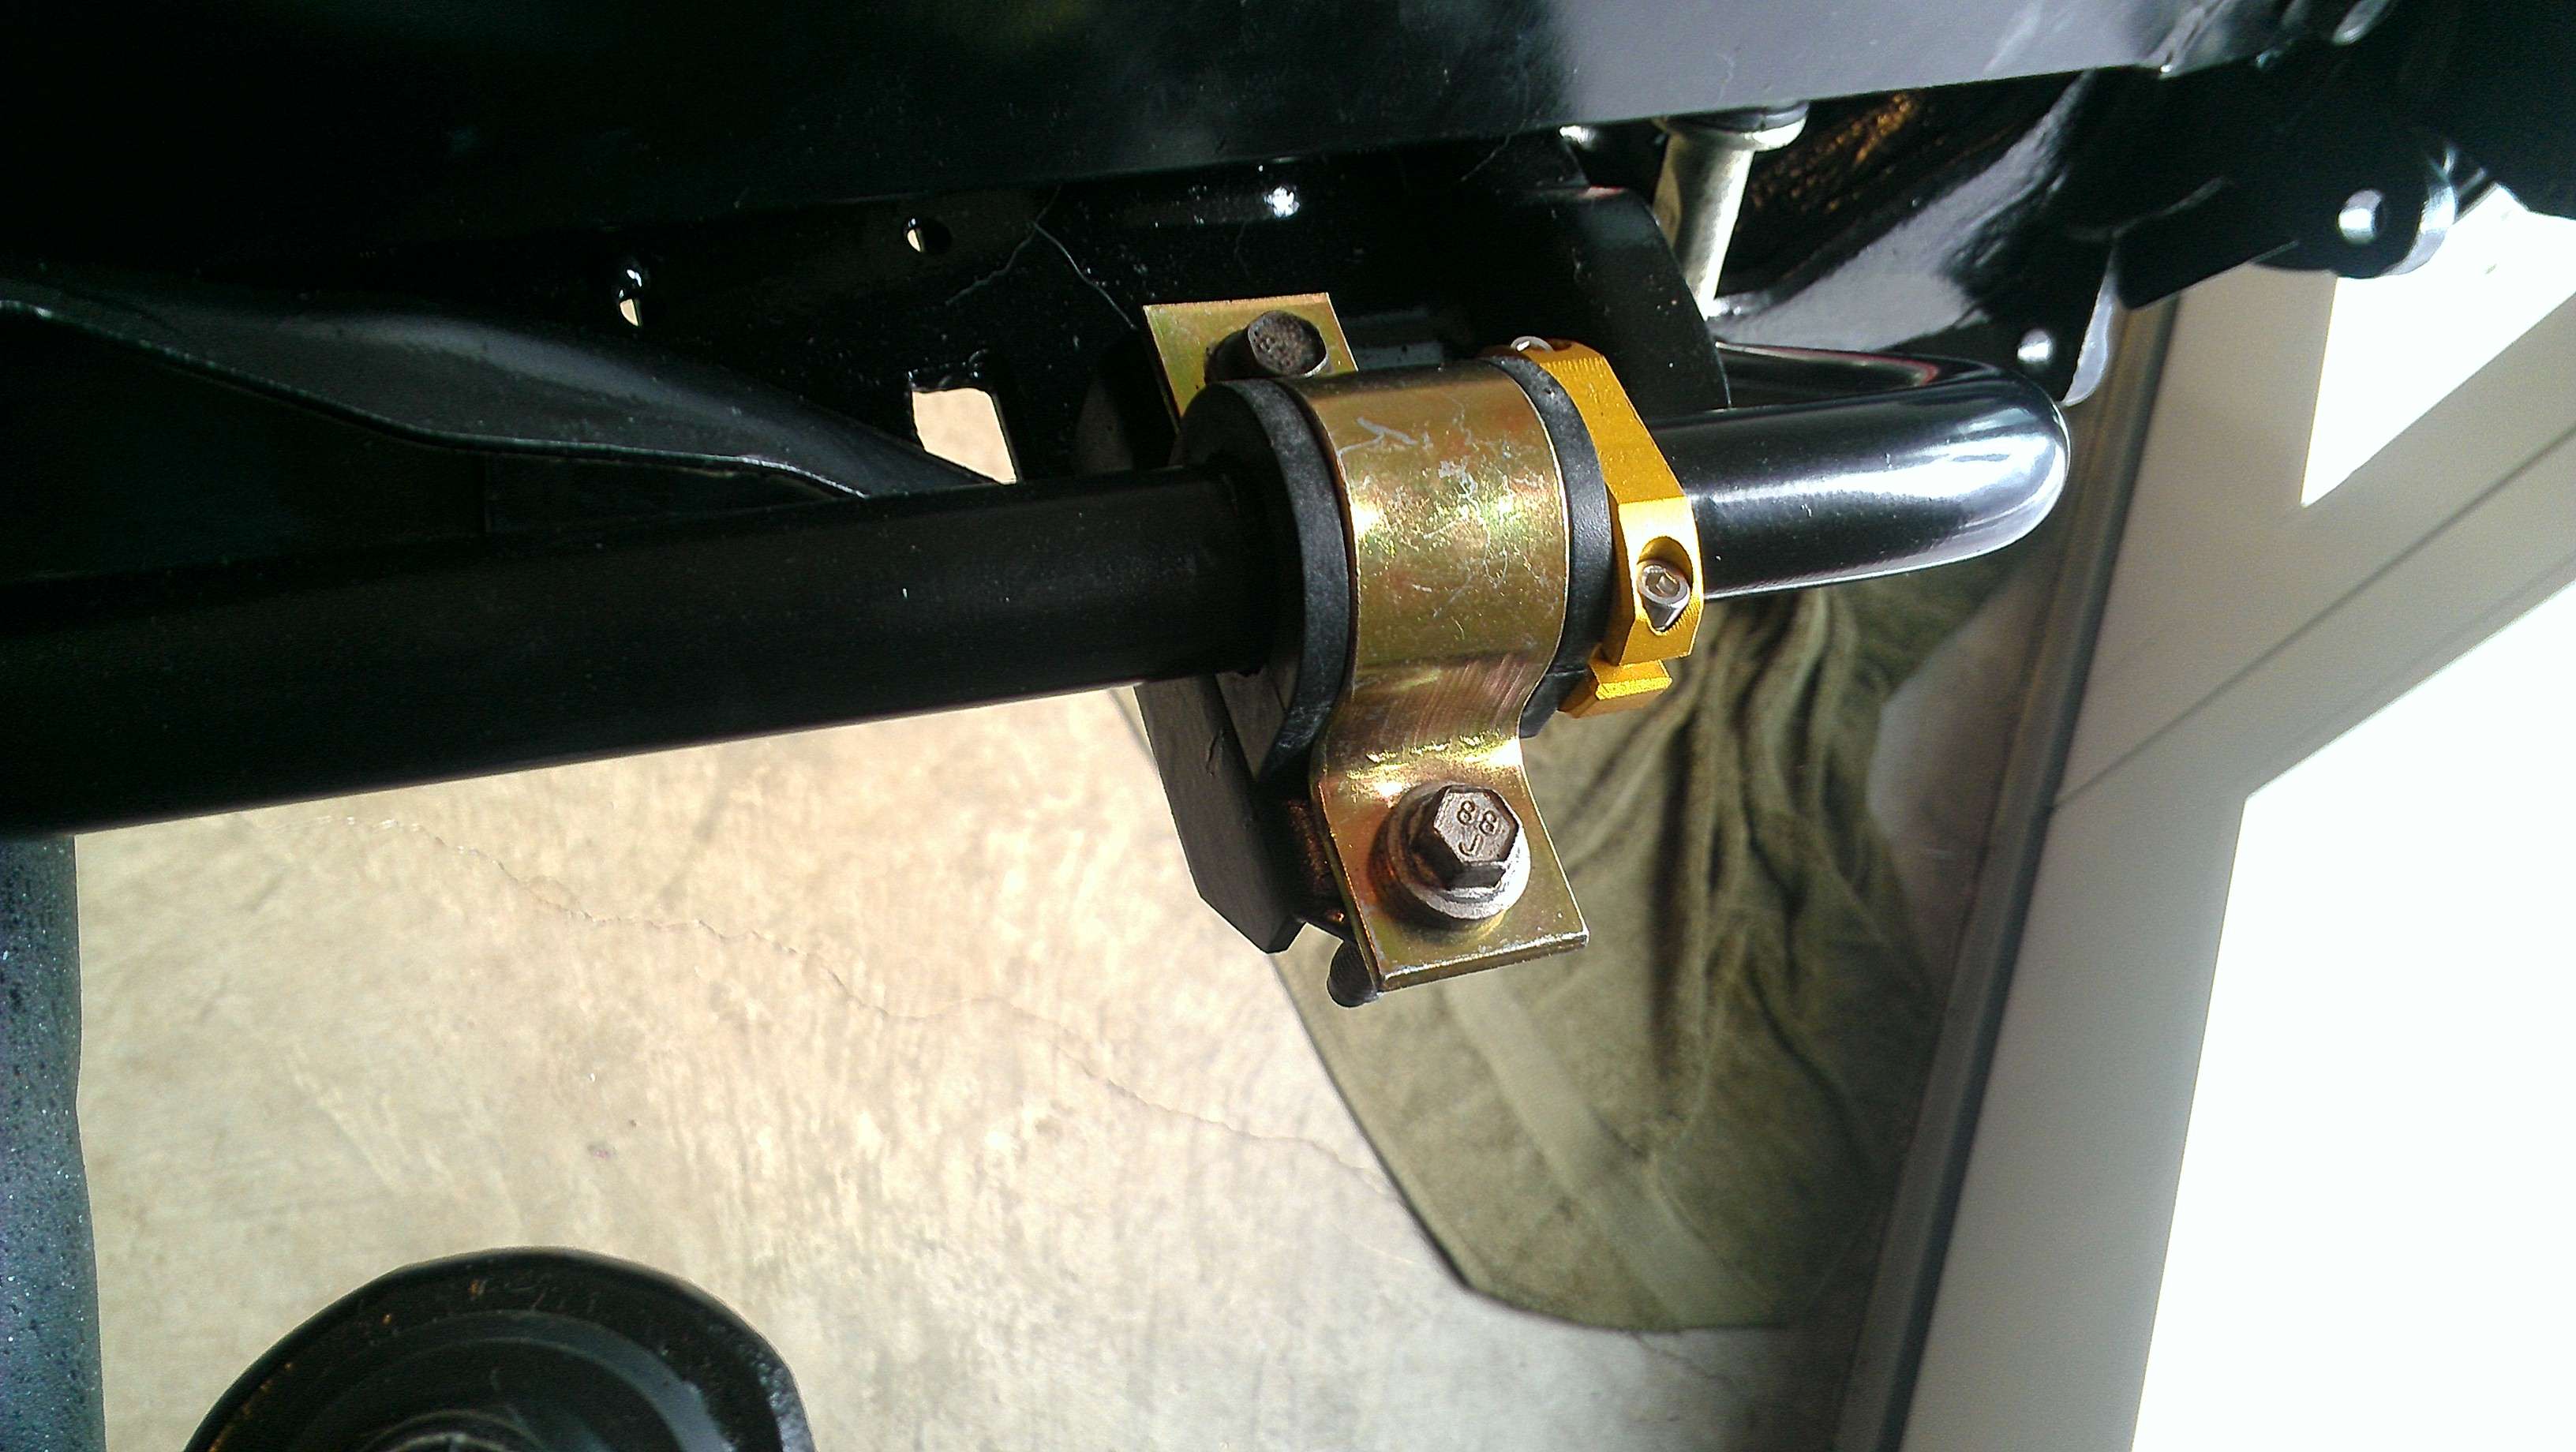
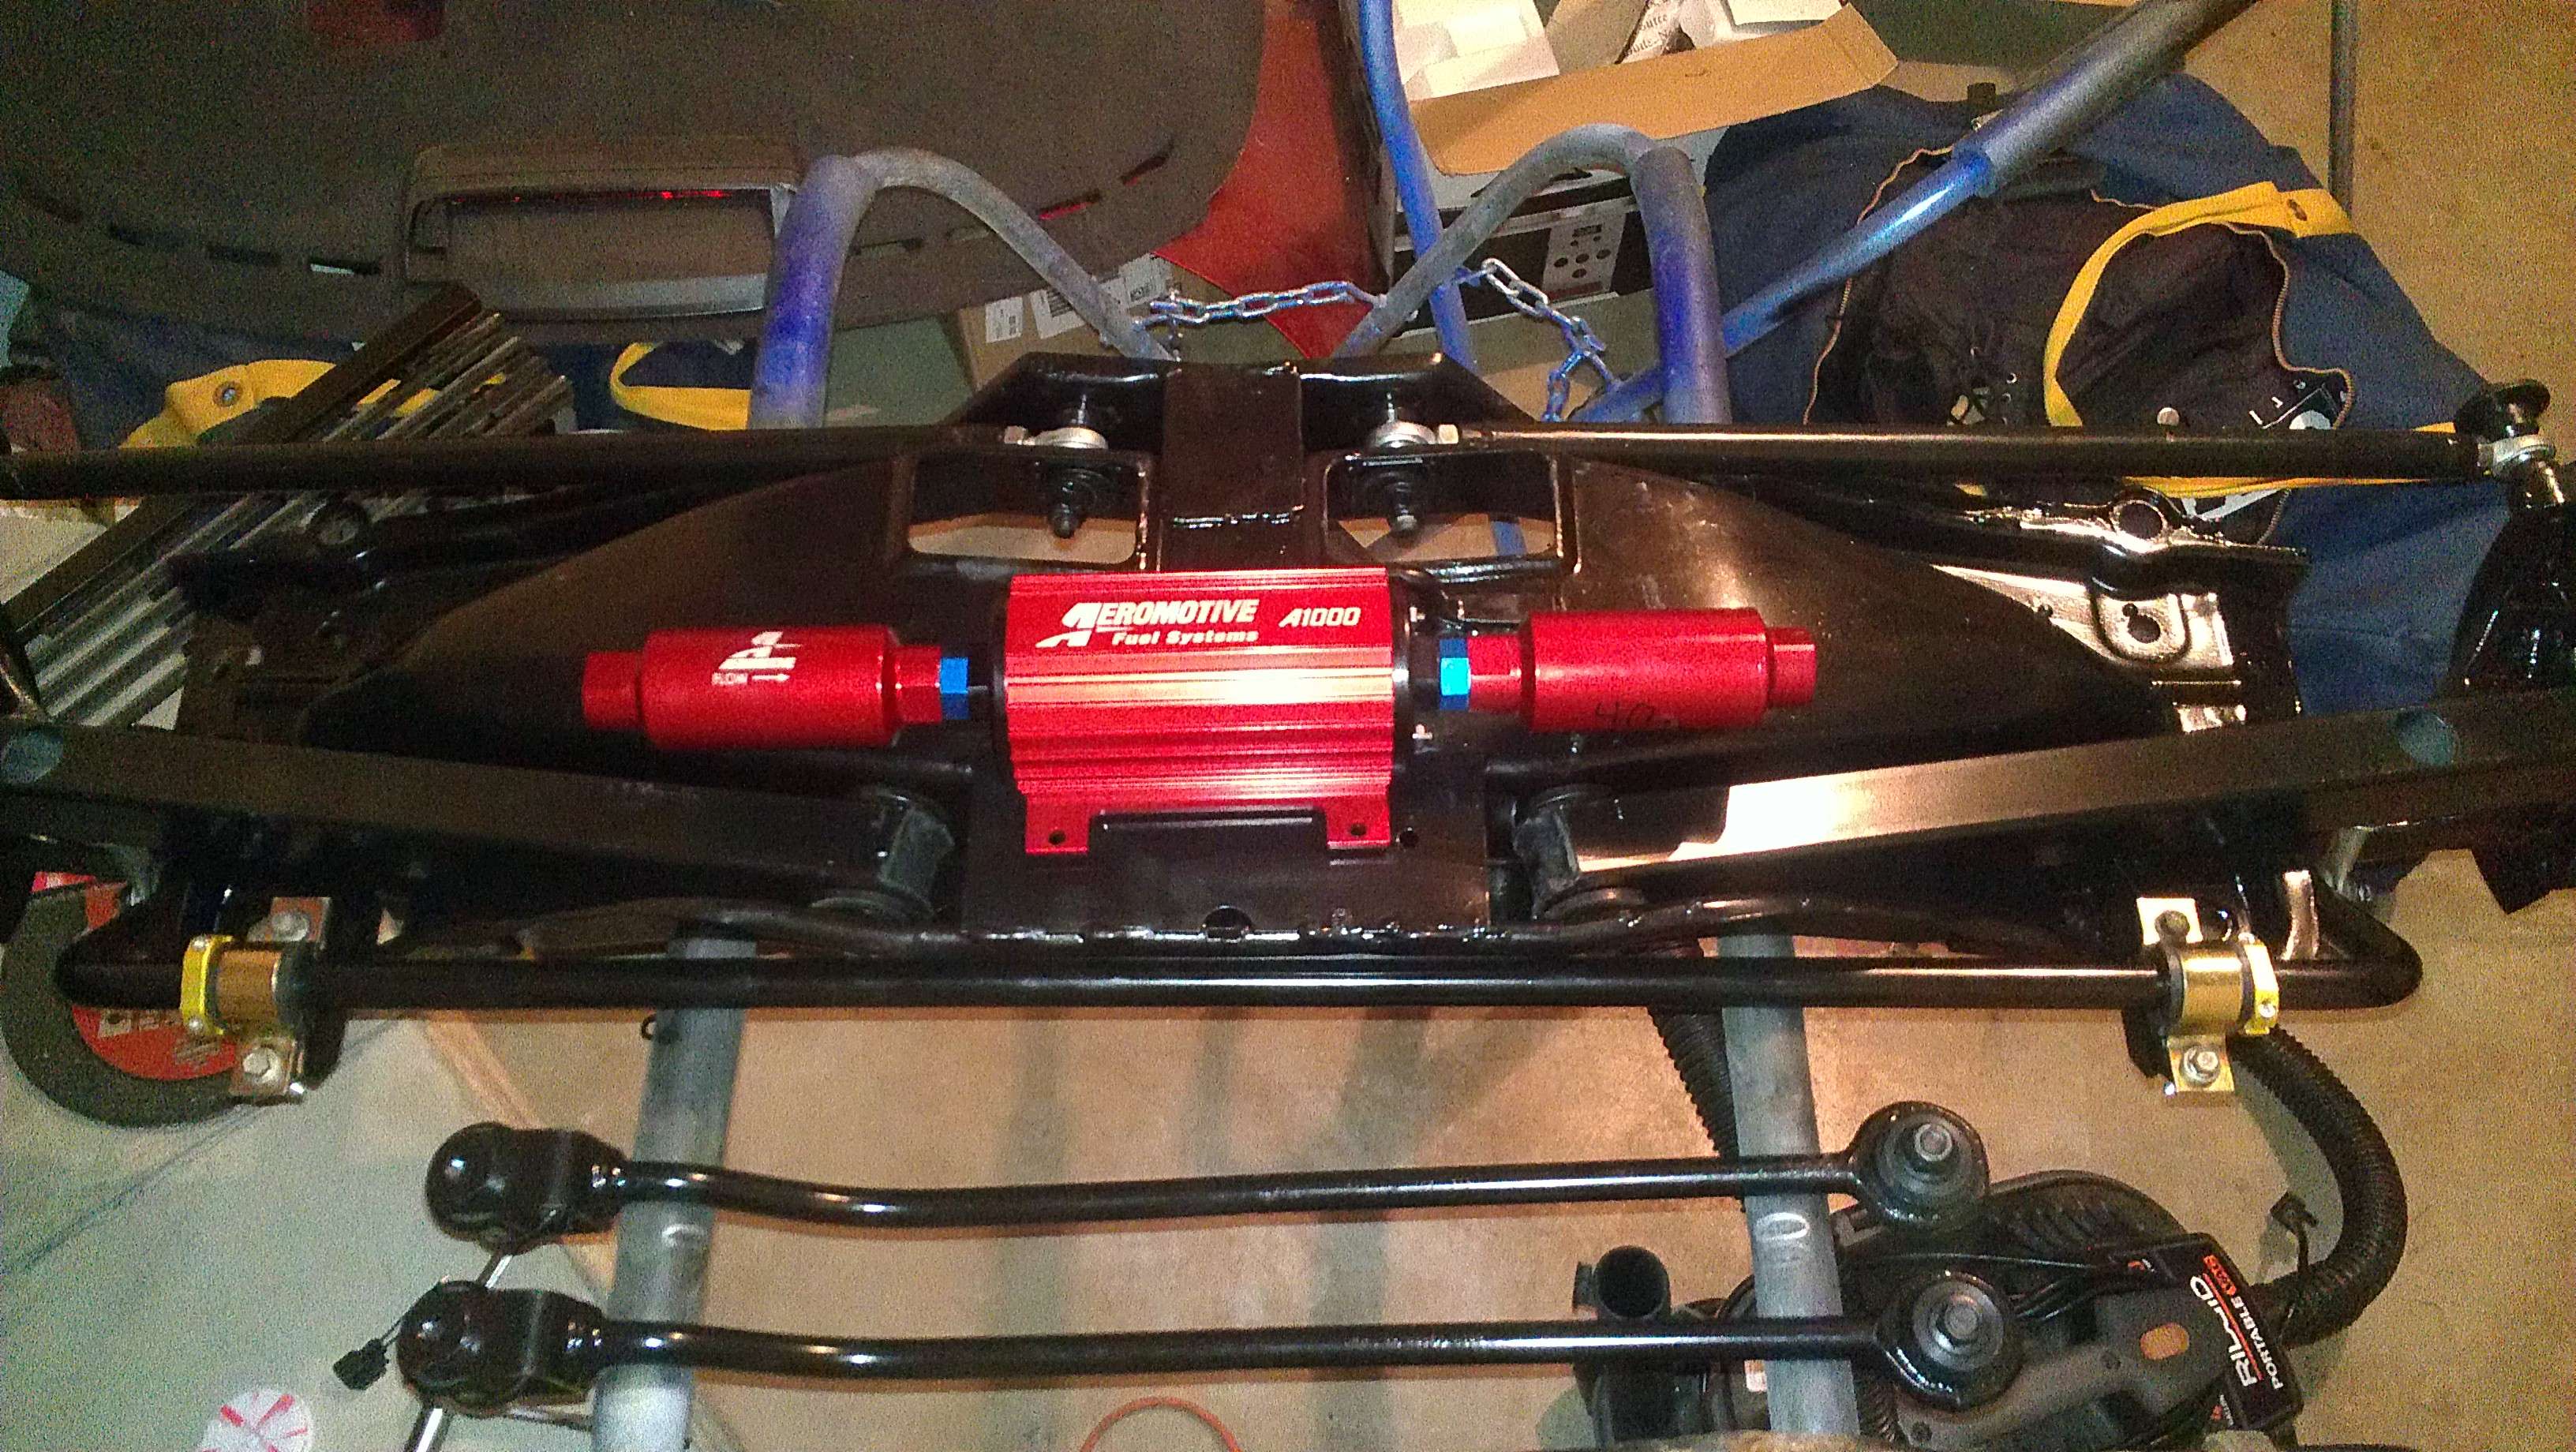
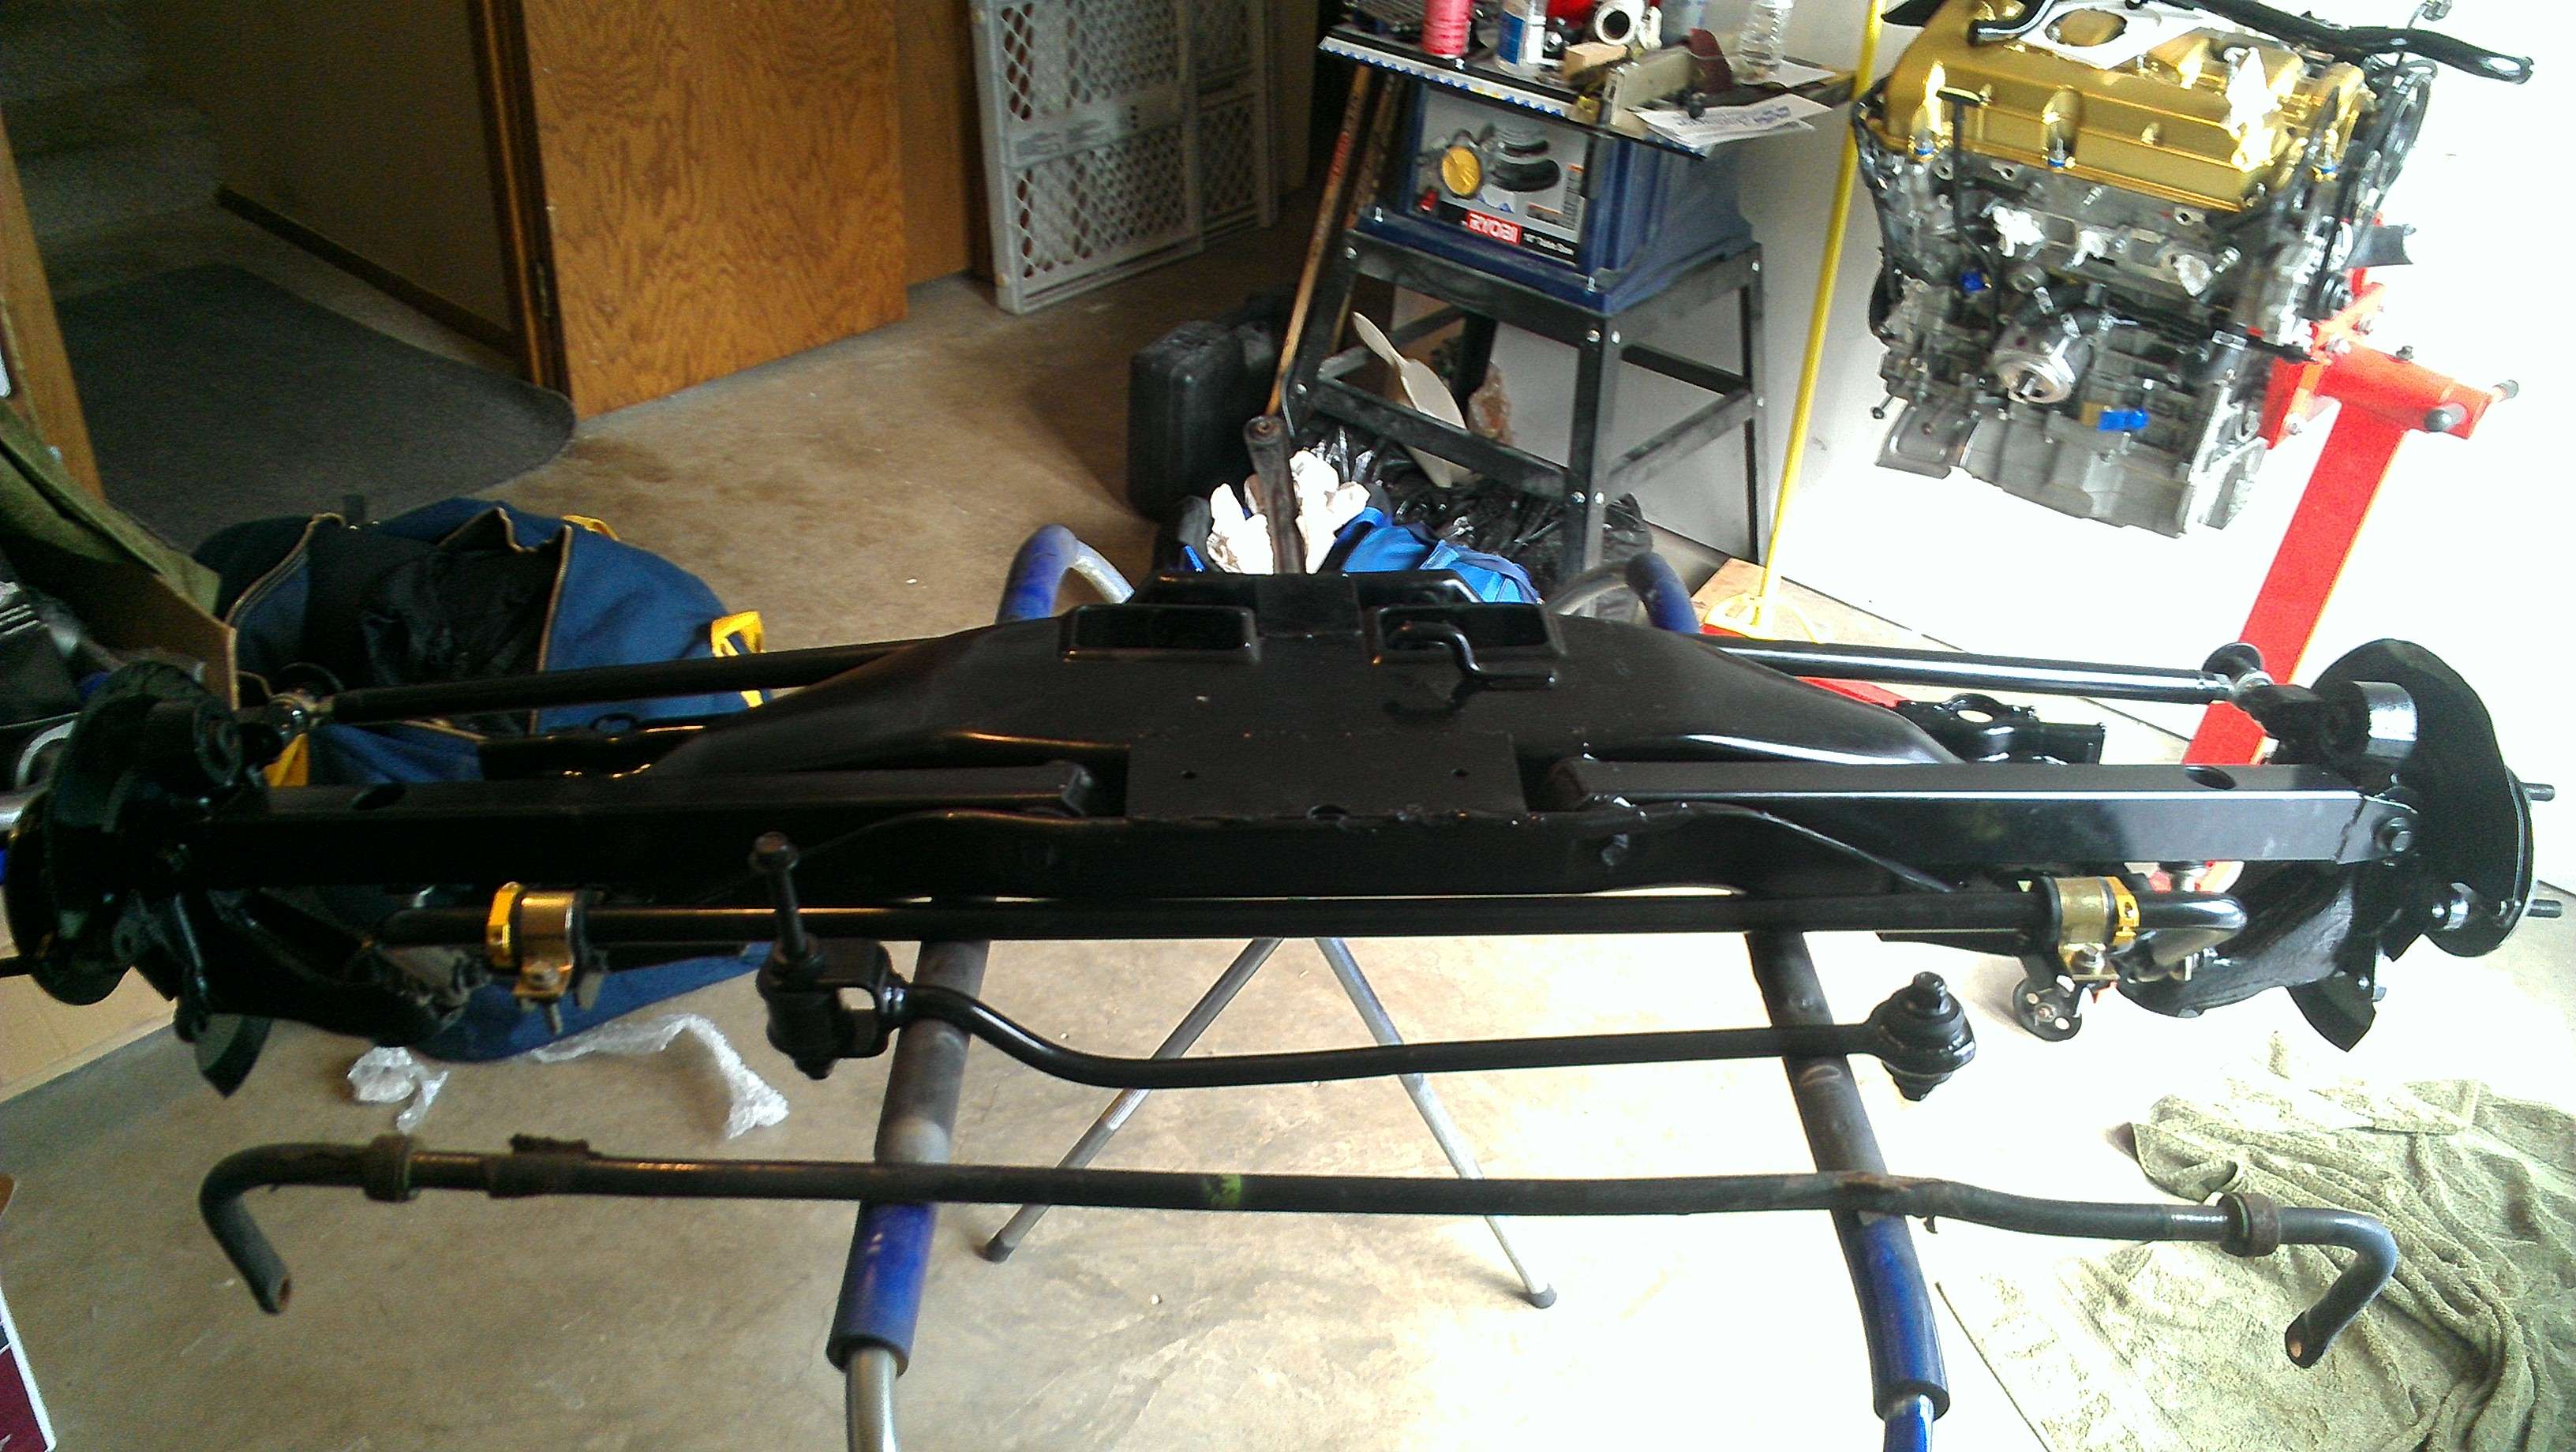
All put together. Now just need to figure out the filler neck issue and it can all go back in the car.

assembledfront.jpg

assembled.jpg

swaybarmount.jpg
 
Well I finally picked up the camber adjustment washer at Ford.

Picture? Not sure what this is.

Additionally on your toe arms you should be able to ditch the large OD factory washer. Those things are beasts.

The rear end assembly looks great!
 
That was all I could think of as well, but the "camber" part of the description is what made me curious.

Yea I was throwing the wrong term around. The eccentric washer is referred to as a 'cam' washer. It doesn't allow camber adjustment, but rather toe in and toe out.
 
did you coat the inside of the hub assemblies where the shocks press in? I painted mine a number of years ago (just spray rustolium, its actually held up really well... anyways) the addition of the paint was enough that I couldn't press the shocks back in and had to sand the paint back off in that area. just a heads up, you might want to try fitting the shocks now.
 
did you coat the inside of the hub assemblies where the shocks press in? I painted mine a number of years ago (just spray rustolium, its actually held up really well... anyways) the addition of the paint was enough that I couldn't press the shocks back in and had to sand the paint back off in that area. just a heads up, you might want to try fitting the shocks now.

Yea I was already betting on that happening. I will first be trying to use white lithium grease to ease the assembly, but if that doesn't work out I'll be sanding it off a little bit at a time.
 
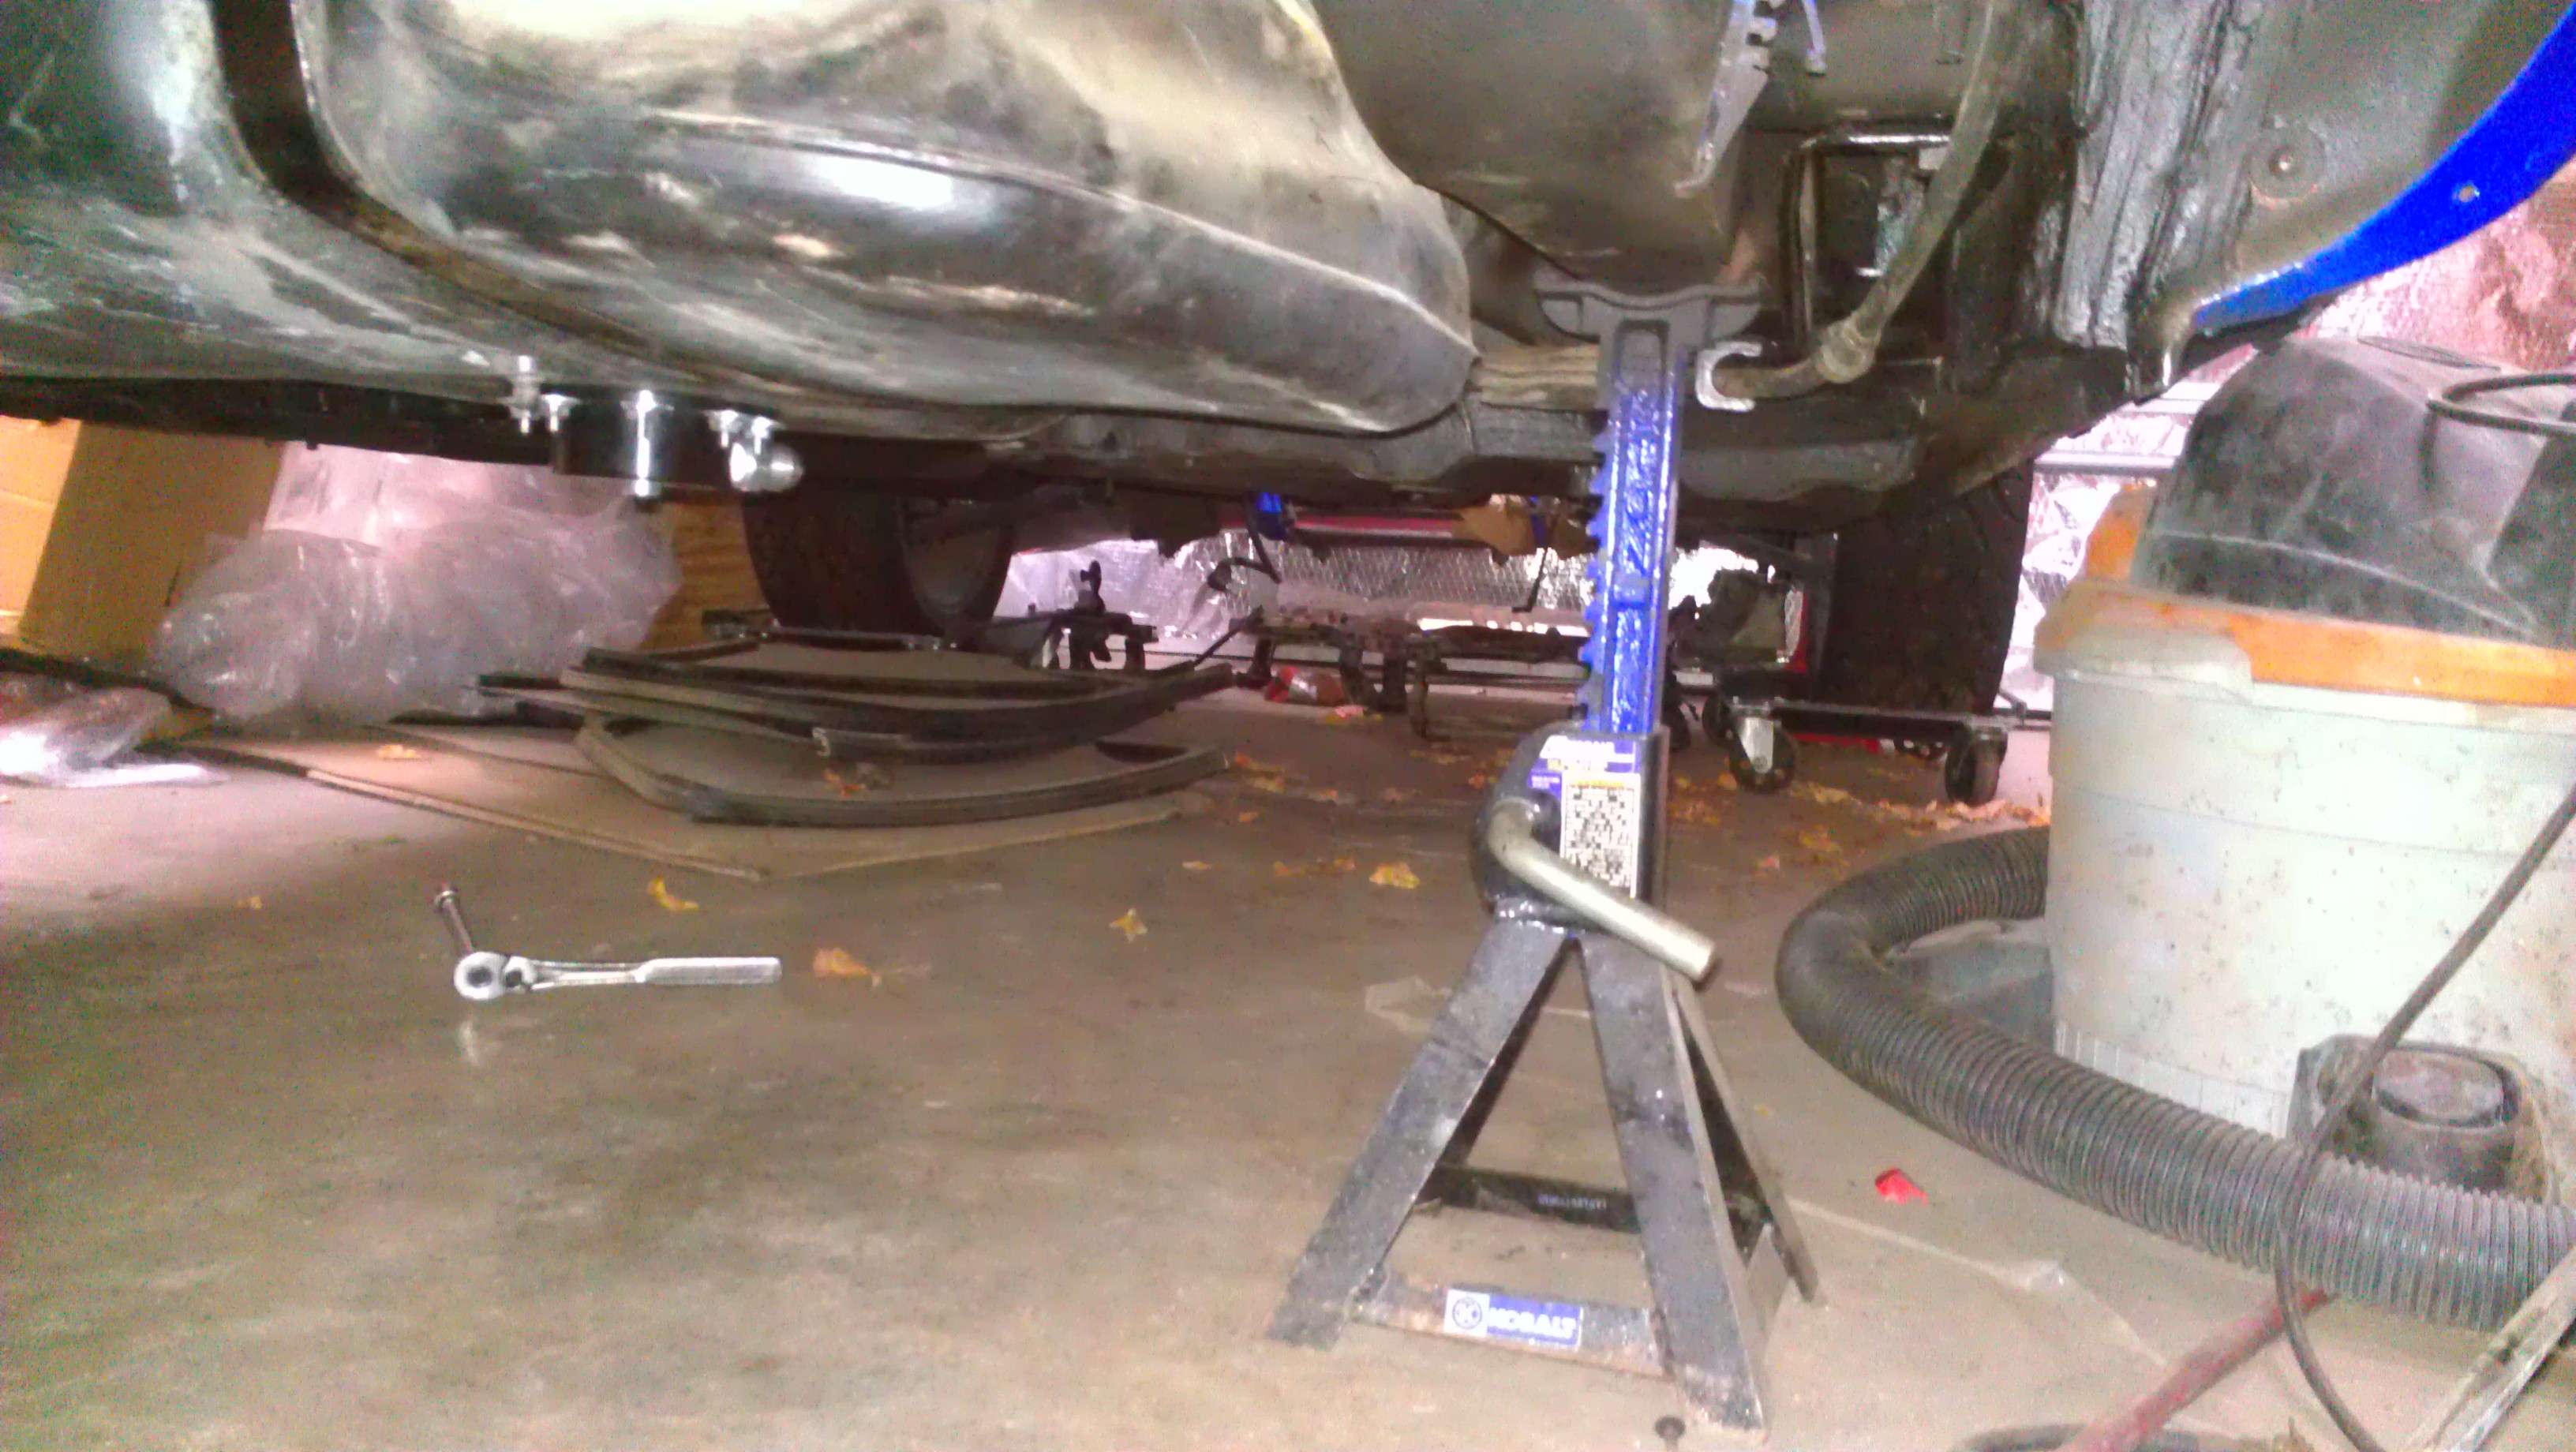
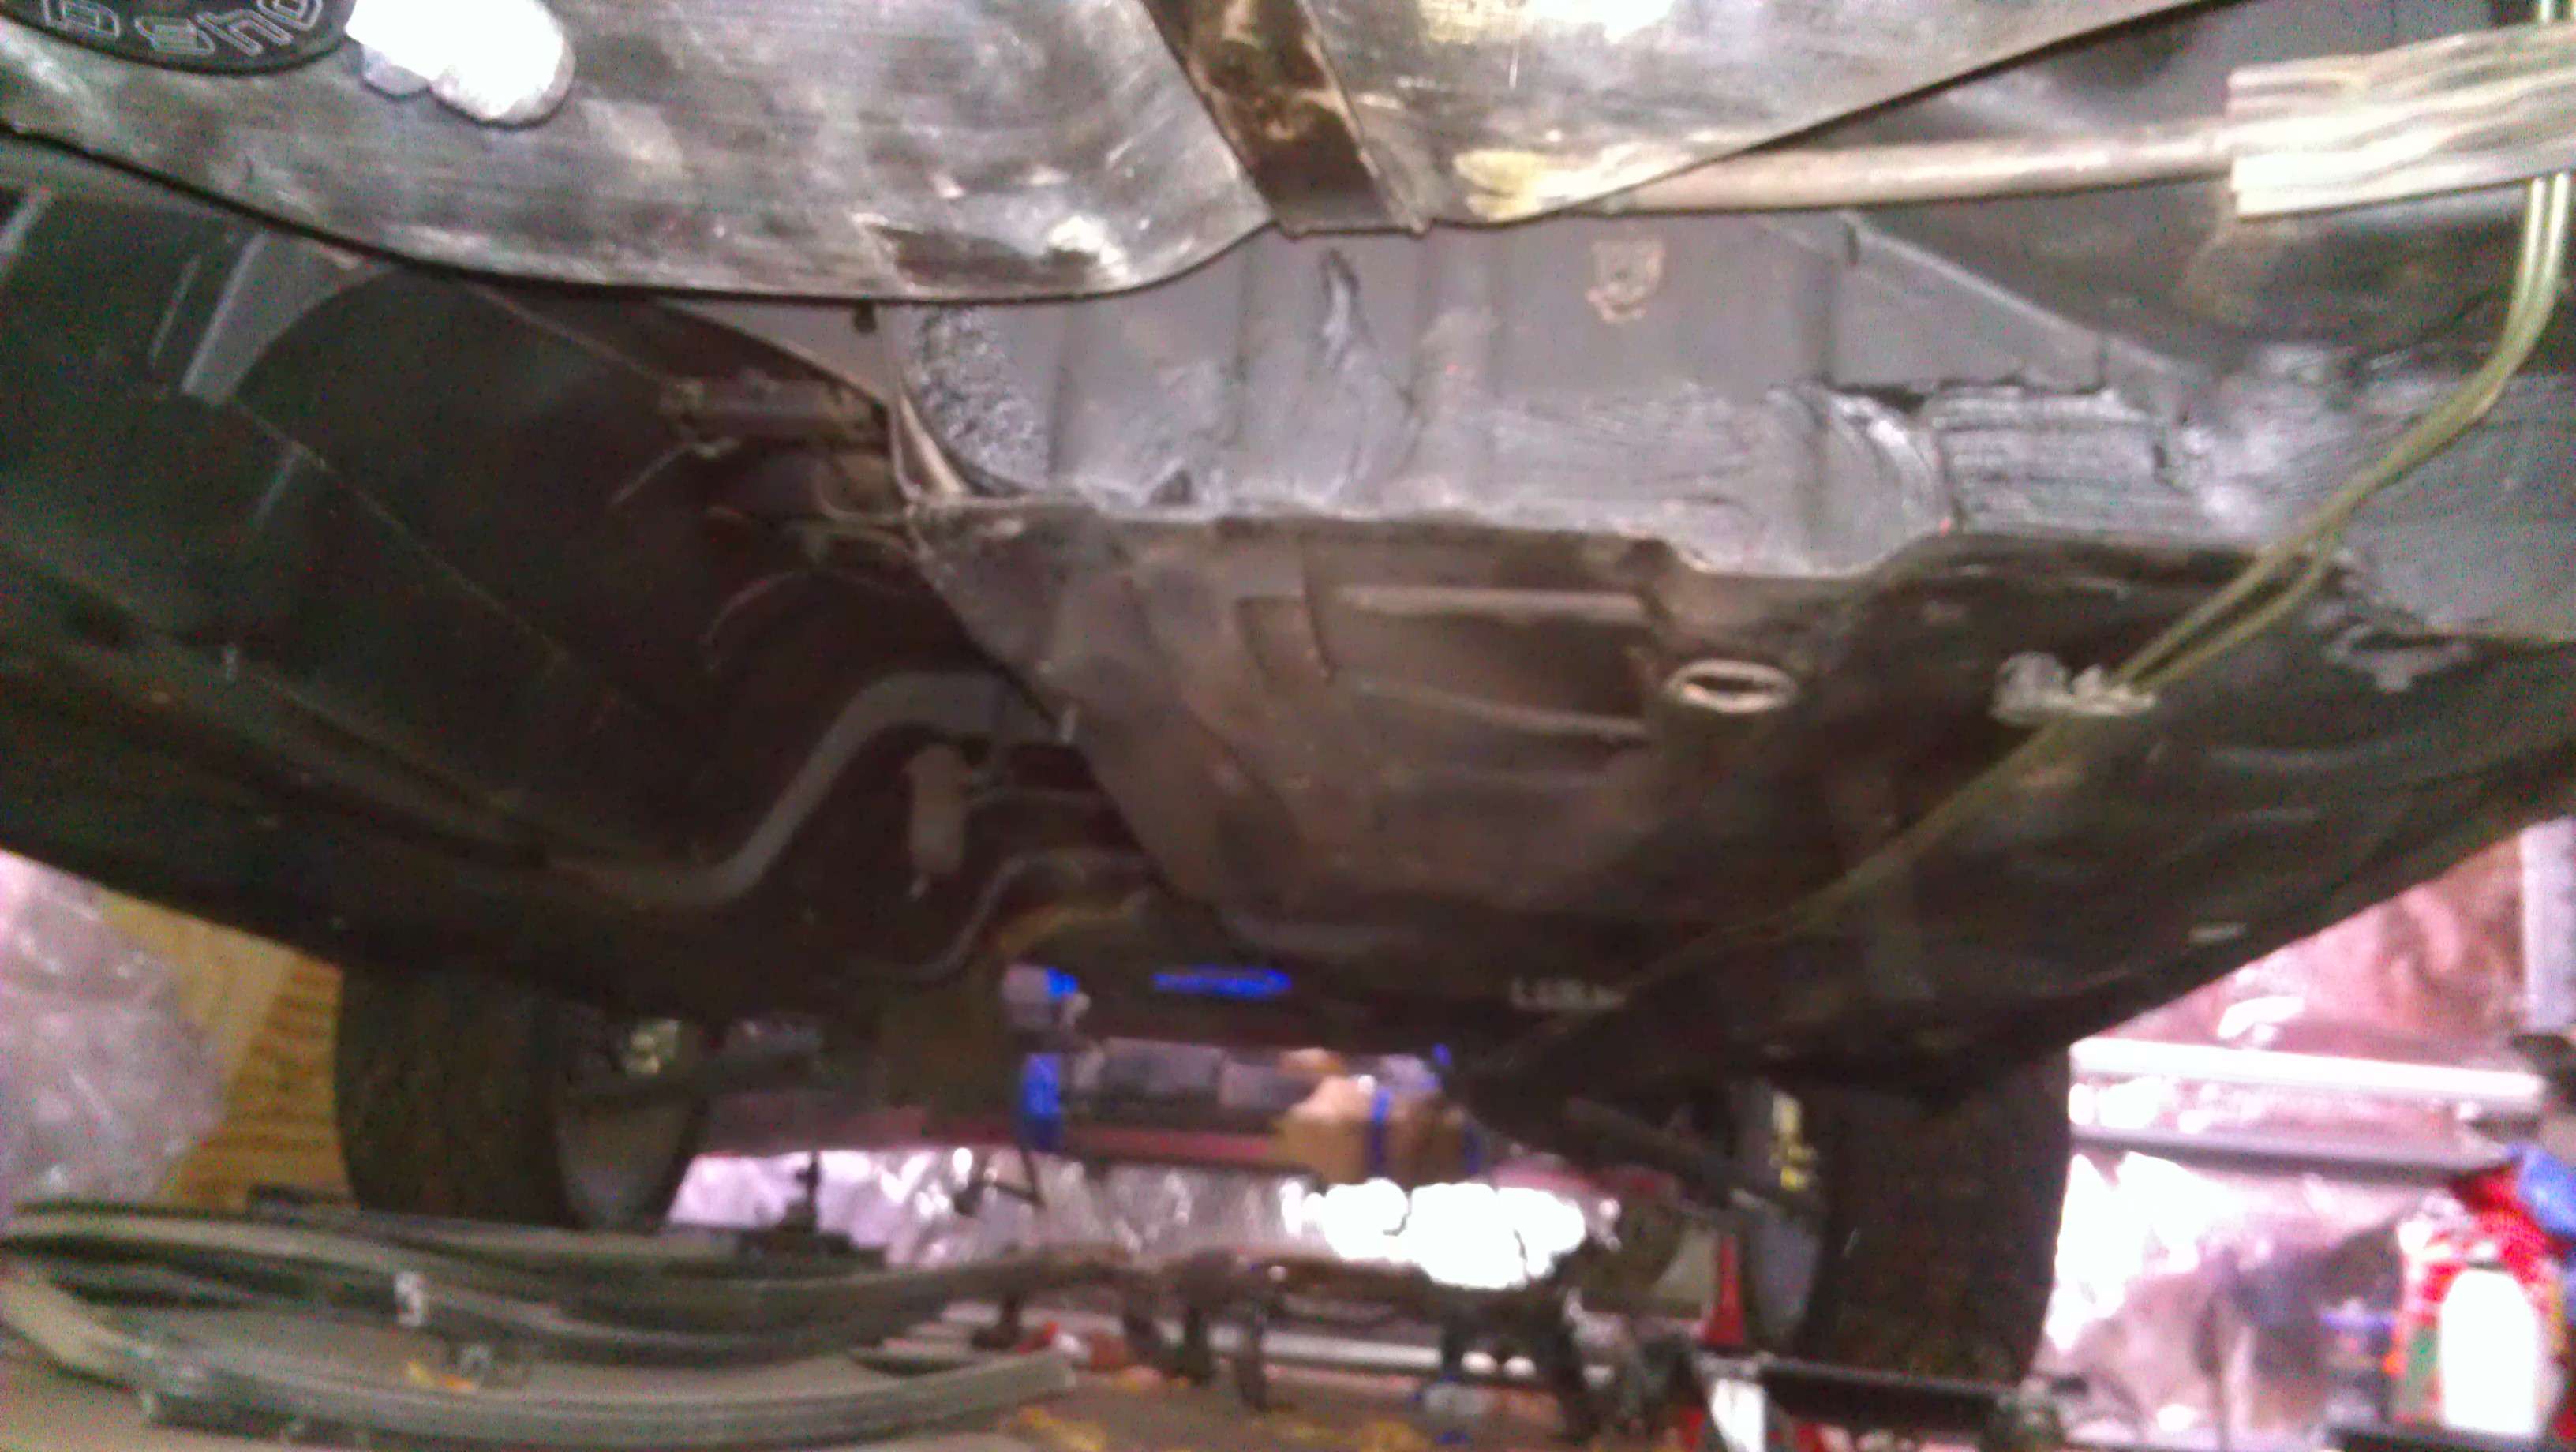
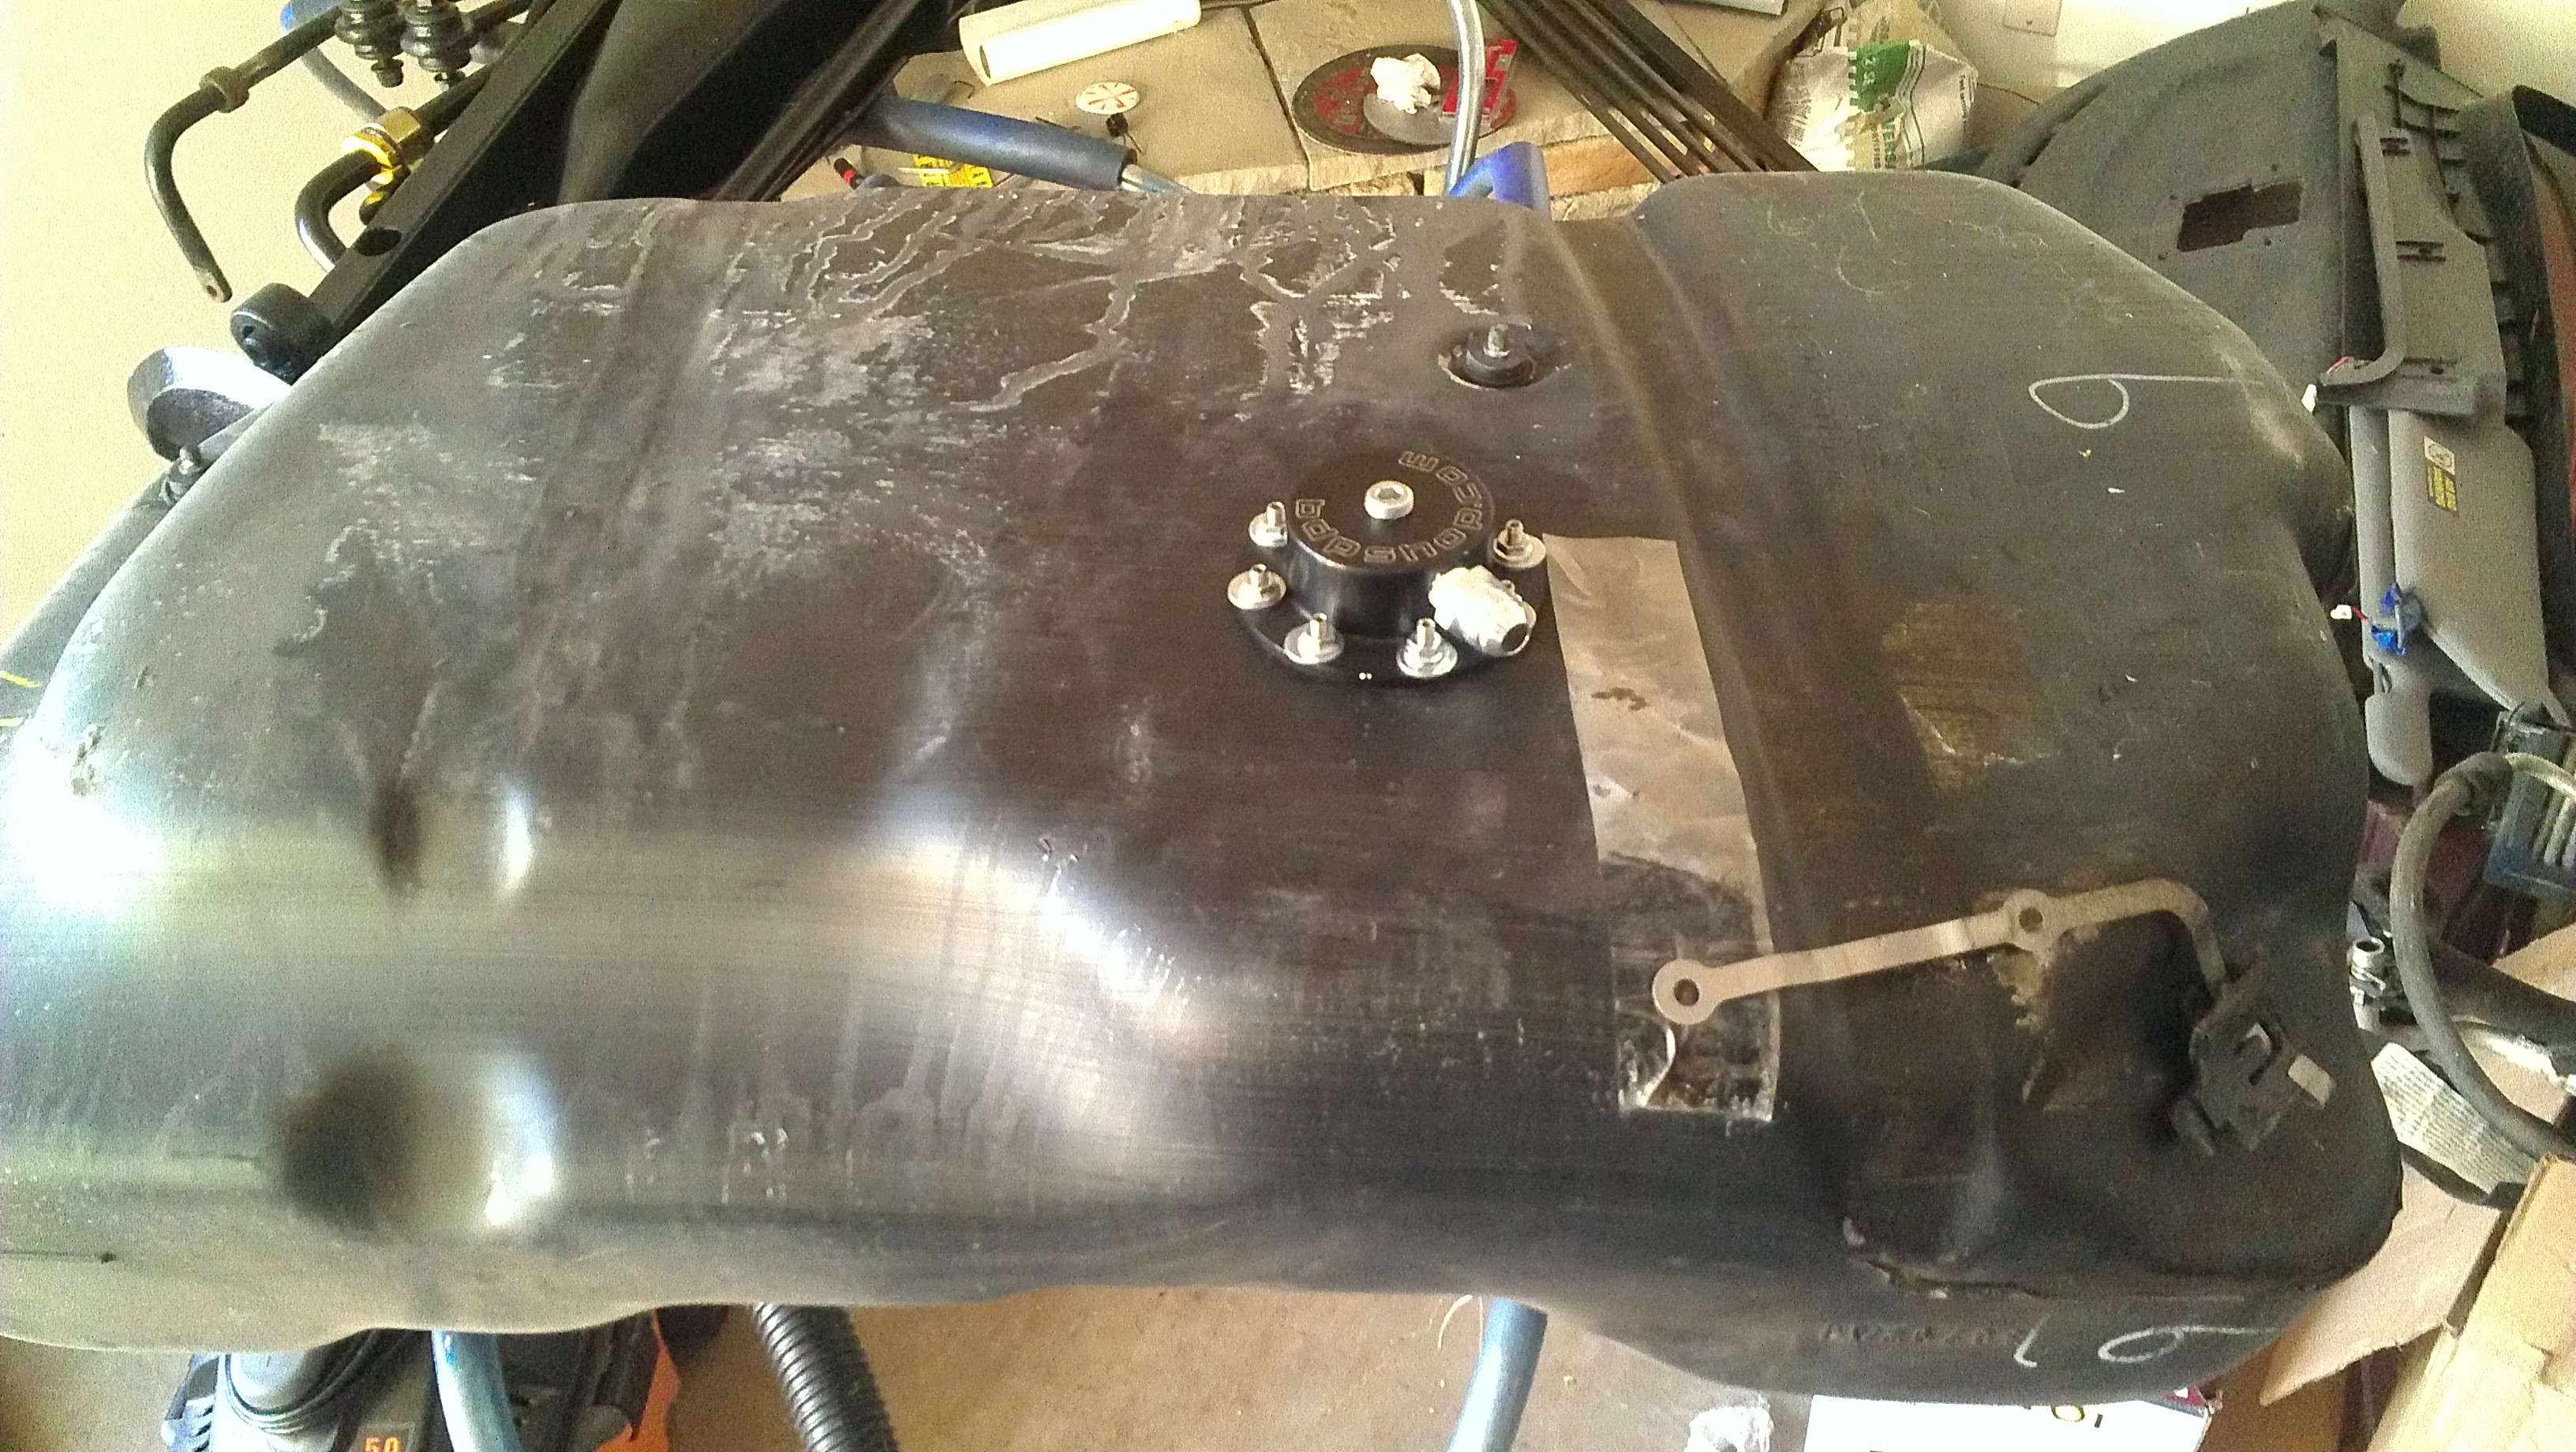
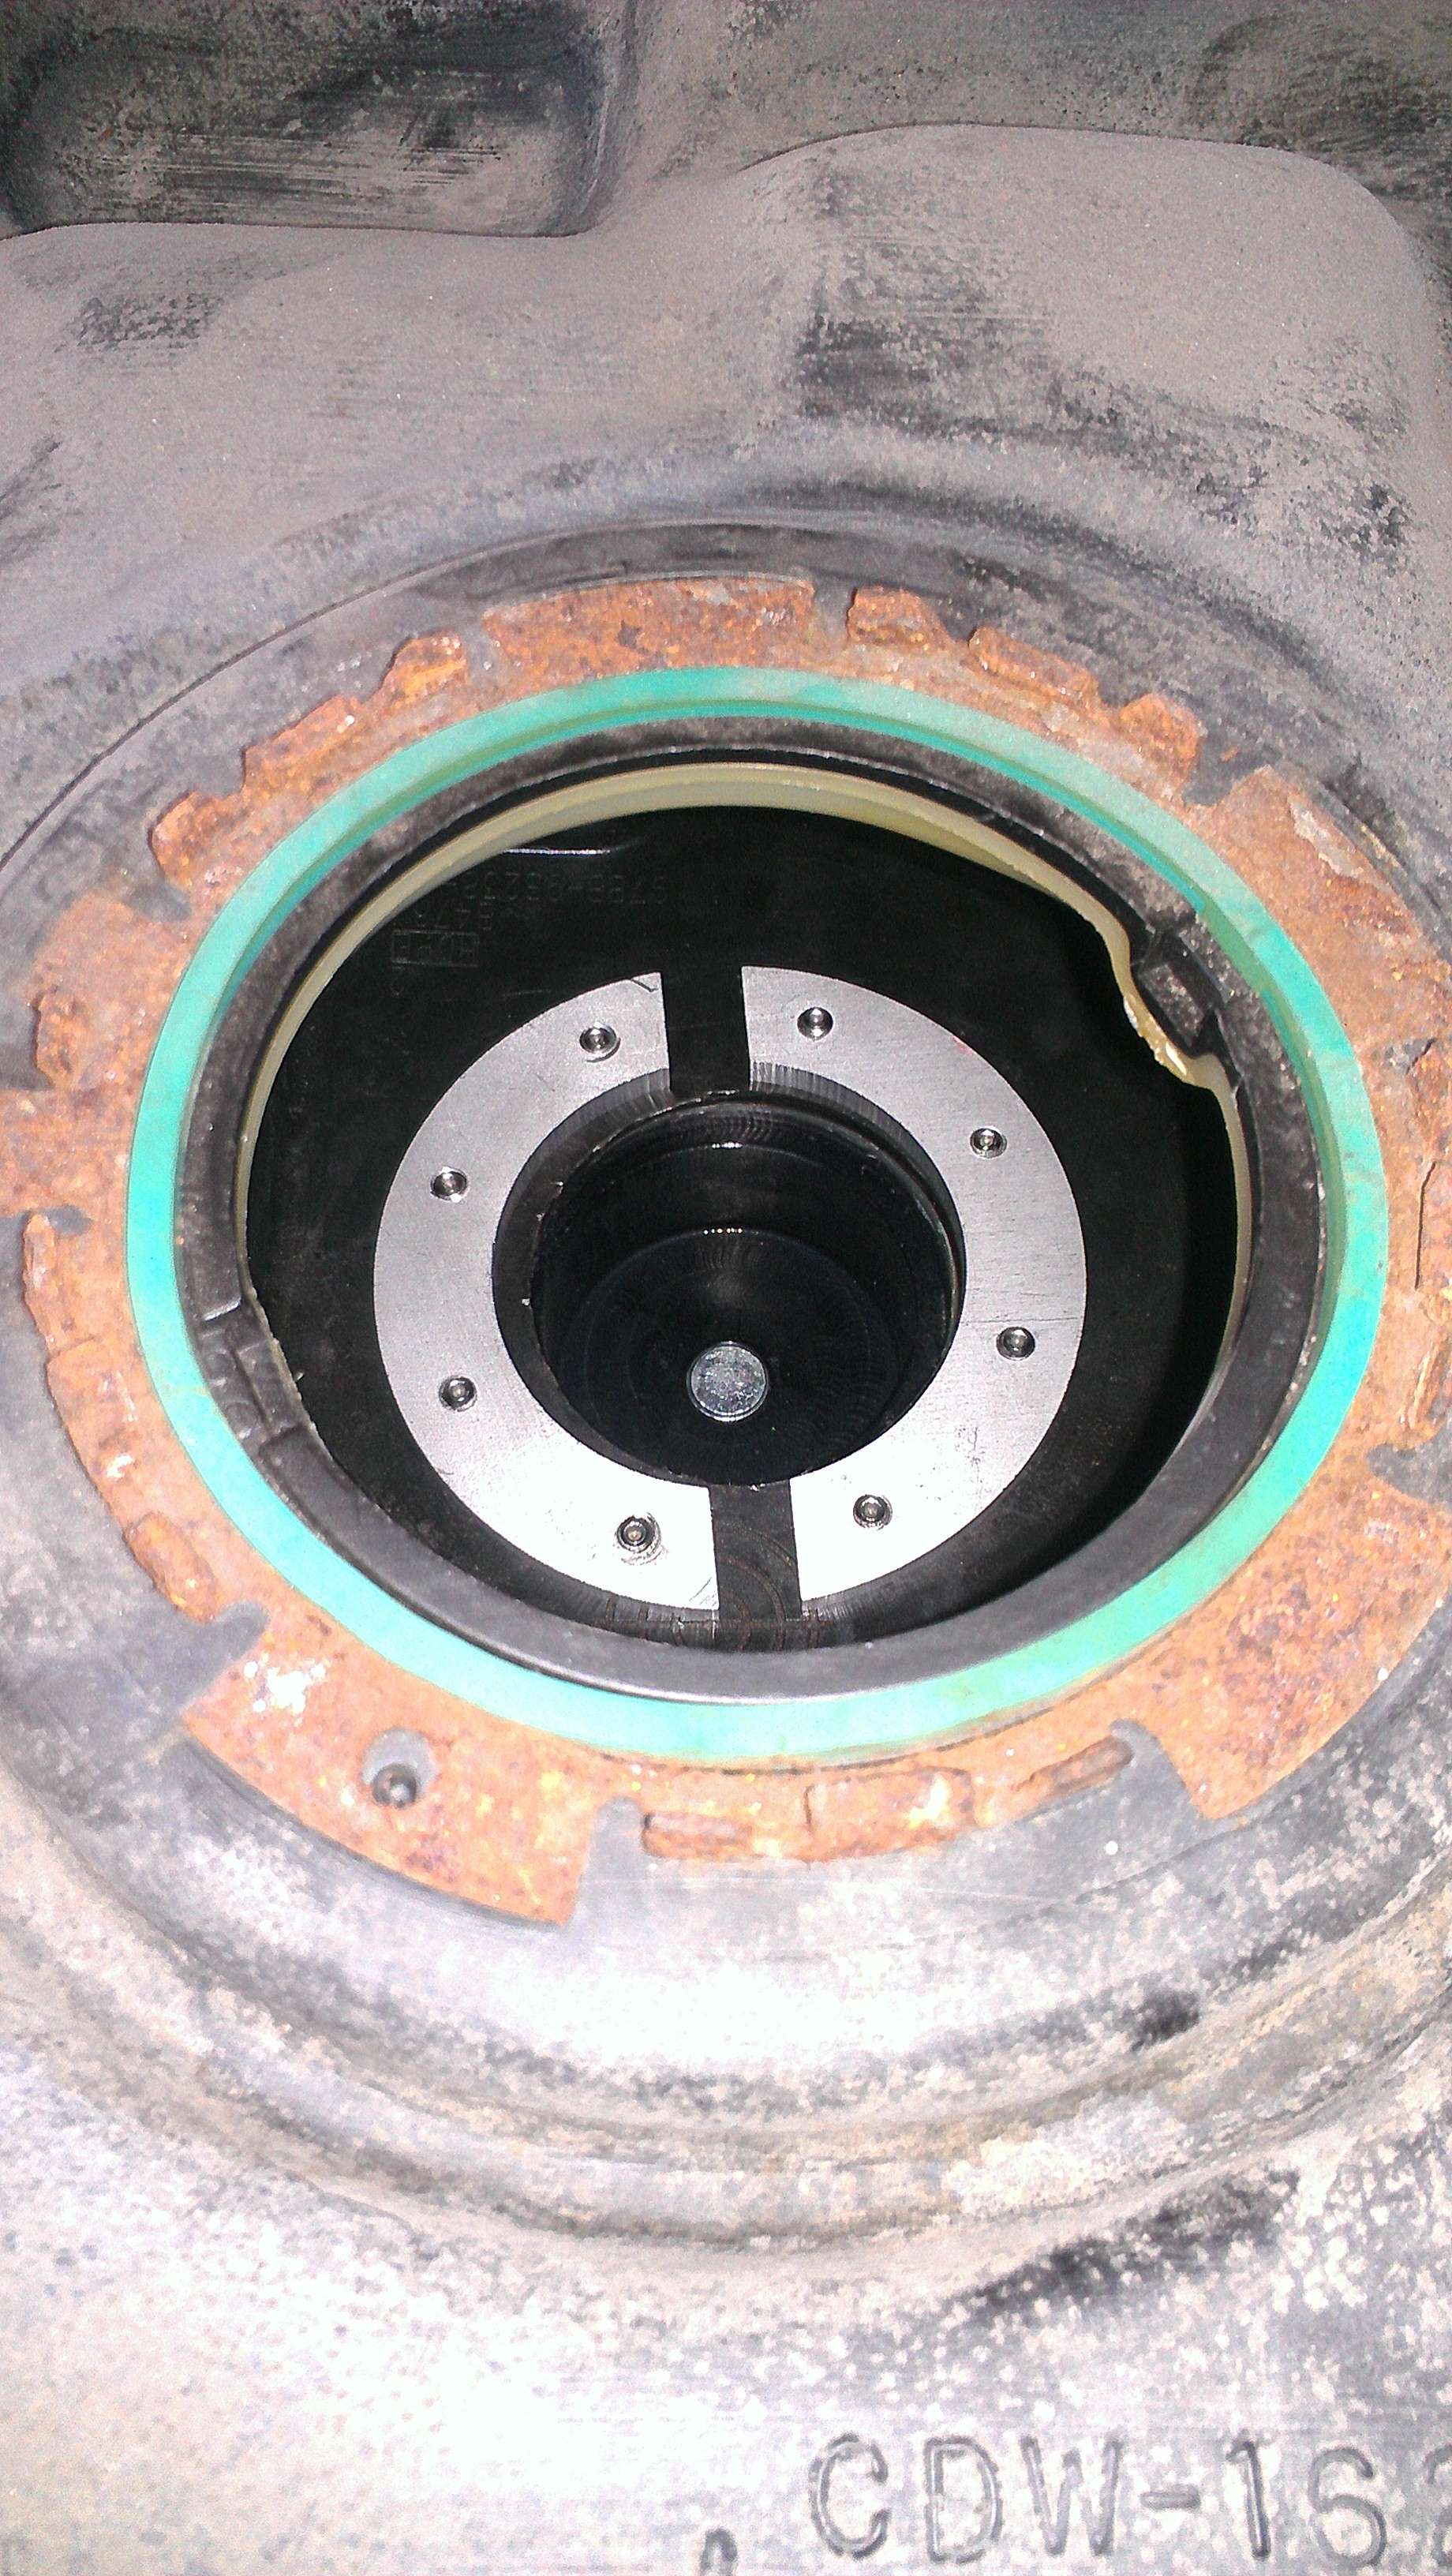
Well I got around to test fitting the sump in the fuel tank. I used my original tank in the event something got screwed up. I ran into a bit of an issue, but was able to make it work. The baffling around the fuel pump area in the tank is a separate piece and must be plastic welded inside the tank. When I cut the hole in the bottom for the sump it became quite loose. I had to hold it in place when drilling the bolt holes for the sump. Everything worked out, but I had to be careful to ensure the holes lined up through the tank and the baffle when I was drilling. Anyhow... here are the pics...

sumpintank.jpg

insidetank.jpg

tankinstall.jpg


Now I need to figure out ground clearances and a location for the pump assembly. I'm thinking of mounting it in front of the tank at an angle, but it's flippin huge. I will most likely need to put an elbow on the outlet side of the pump and put the 40micron filter parallel to the car.

pumplocation.jpg

pumpassembly.jpg
 
Alright well I have solved my fuel filler neck problem. I found that Loctite Durabond E-120HP epoxy is compatible with E85 and gasoline. So I will be removing the filler neck seal in the tank and cutting off the tube with the windows for the filler neck retainer off. I will then be welding up a stainless steel port that will also have a OEM plastic flapper installed on it. This will be epoxied to the tank using the Durabond E-120HP. Next I'll be welding up a new filler neck section to replace the majority of the OEM filler neck. This will be connected to the port and the filler port via a rubber hose from a Silverado Flex Fuel truck. The filler port itself is still up in the air. I may be using a Newton-Equipment Aero 300 piece ($$$), but I'm also investigating OEM filler necks that I could pick up for cheap. Pic of the Aero 300 piece is below...

Angled%20Neck%20-%20Cap%20Out2.jpg
 
TIG welder... purchased, check
Stainless steel tube... 1-1/2" OD 18ga wall purchased, check
Stainless steel plate... 18ga sheet purchased, check
Loctite E-120HP adhesive... purchased, check

stuff is going to get done soon...
 
Not to discredit other build threads, because they are all great, but this has to be my favorite build to look through. Very thorough and detailed. Fantastic job 49, cannot wait to see the finished product.
 
Not to discredit other build threads, because they are all great, but this has to be my favorite build to look through. Very thorough and detailed. Fantastic job 49, cannot wait to see the finished product.

it's one of the reasons i check in on the forums. I keep hoping there will be some serious updates/ progress, but it's always a little bit of a letdown, haha.
 
it's one of the reasons i check in on the forums. I keep hoping there will be some serious updates/ progress, but it's always a little bit of a letdown, haha.

LOL. Yea I hear ya though. Trust me it's a let down for me too. I'm just striving to have this thing ready to go for this years Spring Zing. At least if anyone decides to build their car like this hopefully I've laid the ground work so people know what they will need and how to go about it (or not go about it).
 
Back
Top